

How to start ReachSuite’s auto-update workflow
Auto-update is a very powerful feature of Interactive Product Tours. Learn how to leverage it below.
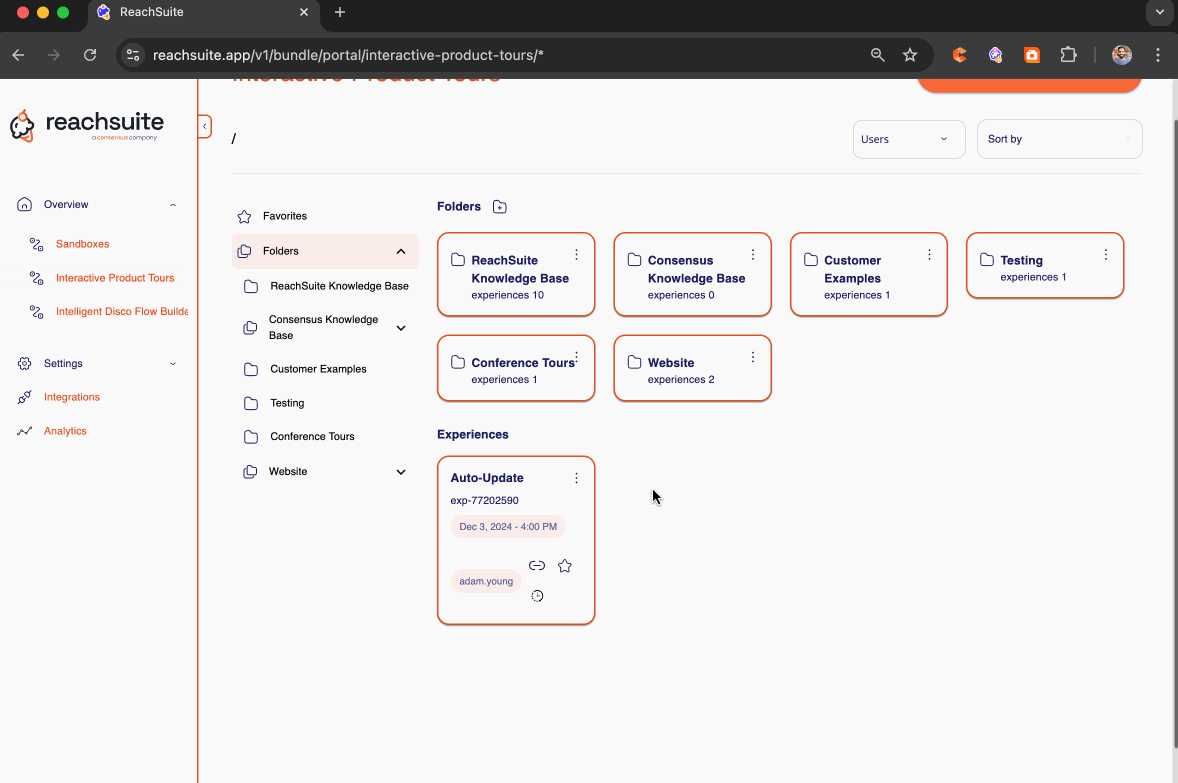
You can launch auto-update from the dashboard. To do so click the “...” on the tour you want to update and and then click “Update experience”
From there a new tab to the page in your platform where the recording is suppose to start with a single prompt modal:
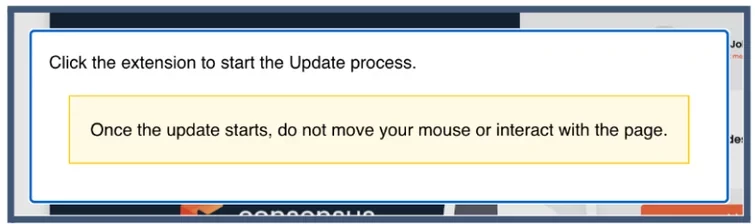
This prompt instructs you to click the extension and then select “Start update”. From this point on it is very important to NOT touch your mouse until the auto-update has completed, and opened into a new tab in our edit workflow. After you click start the ReachSuite bot will re-click all the same elements you clicked during your original tour and read here all the same hot spots and callout text capturing any product, feature or UI updates.
Here is an example of what the auto-update workflow looks like:
Auto-update can be used for a few other purposes as well.
Localization:
If you translate your platform or set your platform to another language you can then duplicate your product tour and run auto-update to capture the same product tour on your platform in another language.
Verticalization:
If you login as a different user with different underlaying data you can then duplicate your product tour and run auto-update to capture the same product tour on your platform with different data.