The Consensus Outlook Add-in brings together some fantastic features from Consensus Snap and seamlessly integrates them into Outlook. In this article, we’ll guide you through the easy steps to install and use this handy Add-in.
Using the Consensus Outlook add-in allows Users to send DemoBoards directly from Outlook. In this article, we will cover the installation, configuration and how to create DemoBoard links right inside of Outlook
- Installation & Configuration
- Creating a DemoBoard link in Outlook
Installing and Configuring the Consensus Outlook Add-in
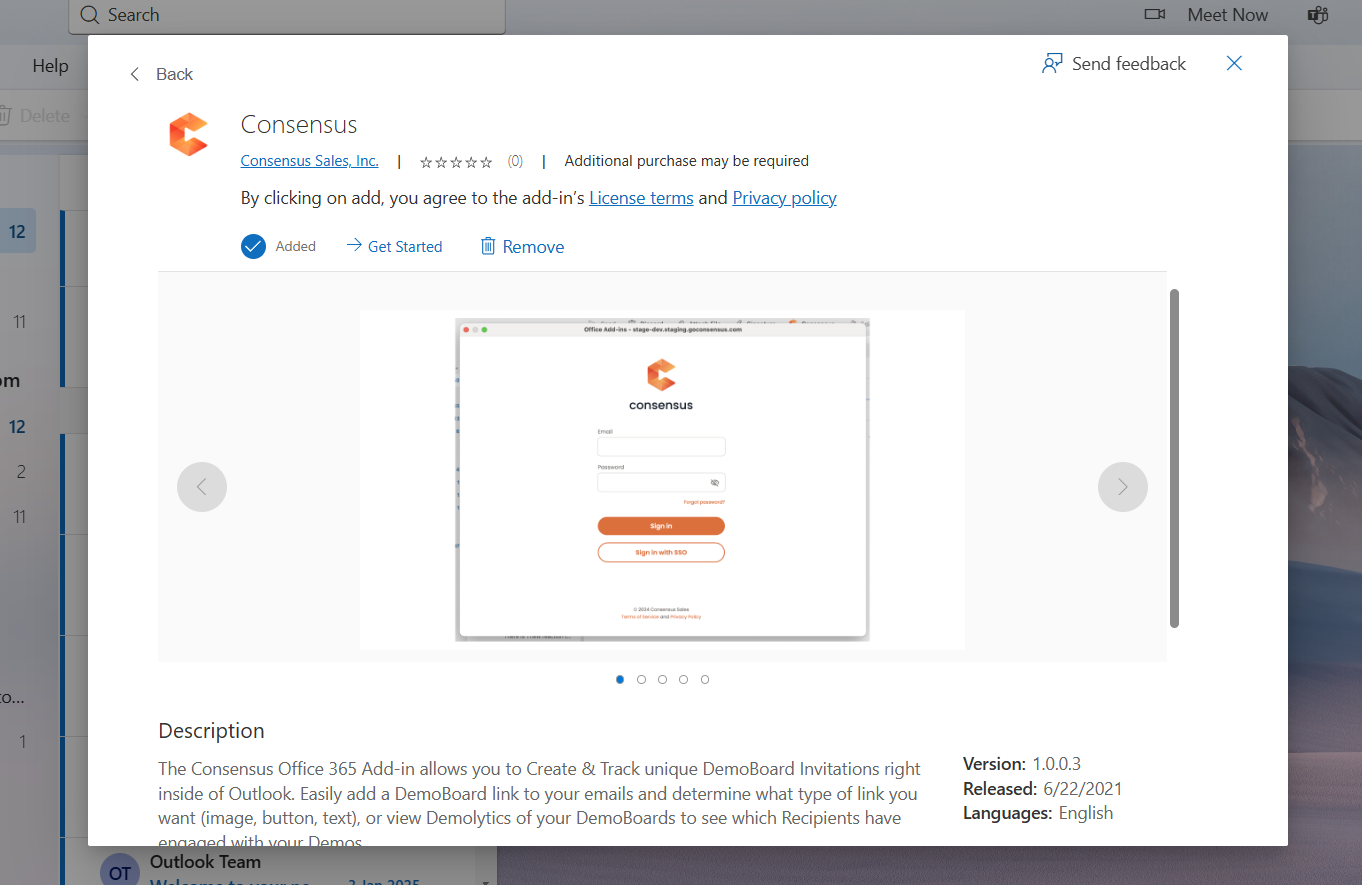
You can find the Consensus Outlook add-in right in the Microsoft App Store here.

- Select "Get it now" and fill out the needed profile information
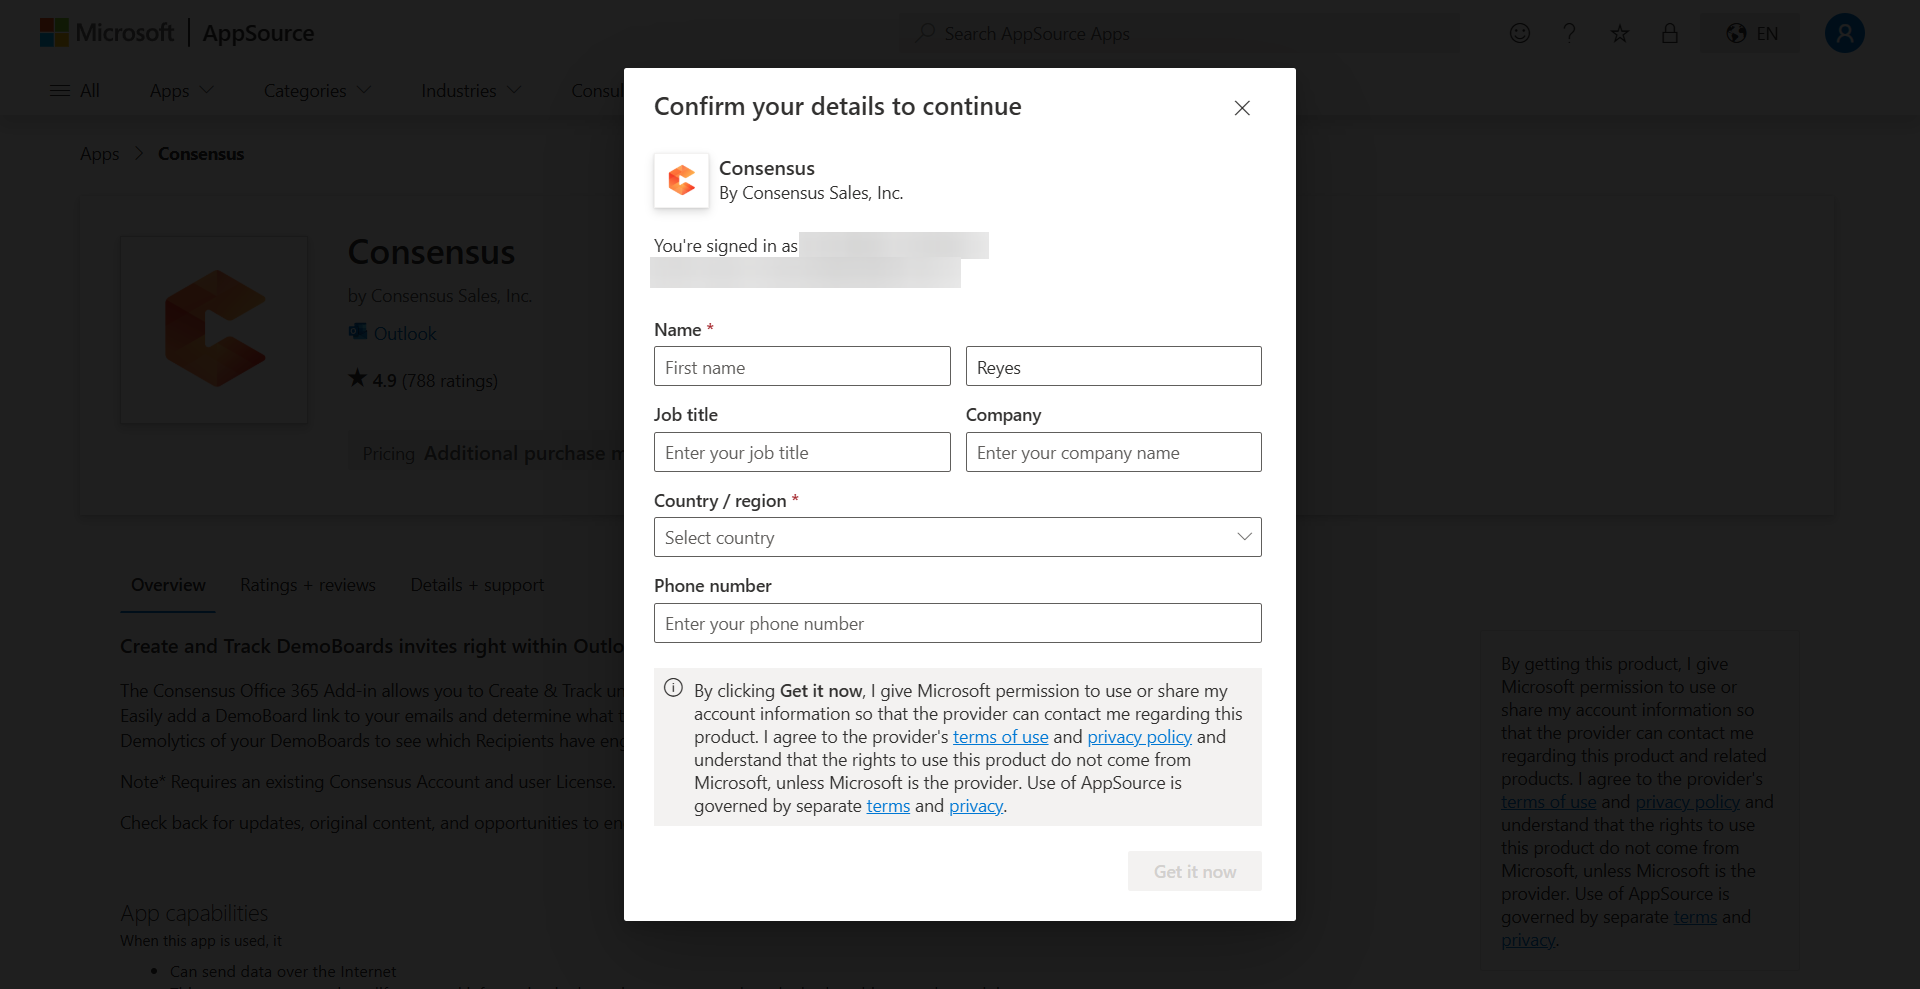
Profile Information - Once you have filled in all the necessary information, you will be directed to the confirmation page below, indicating that the process is complete.
To view the Consensus add-in, click on ‘New Mail’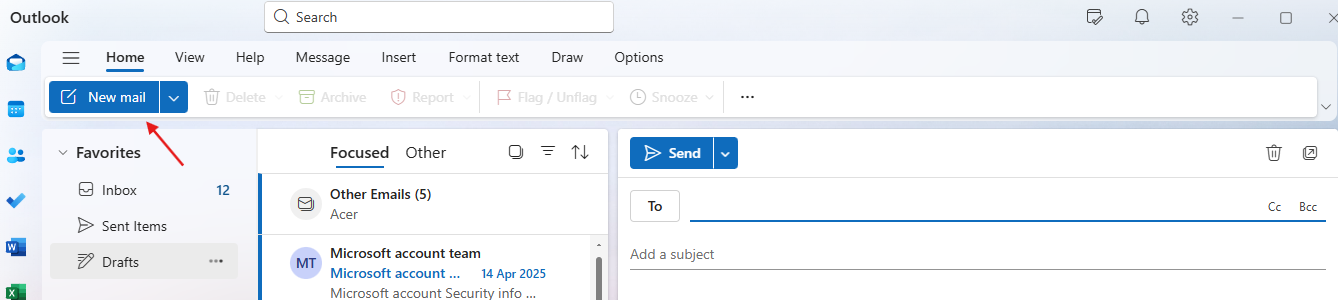
New Mail Now click the Message/Insert tab to access the Consensus Add-in by simply clicking on the app button.
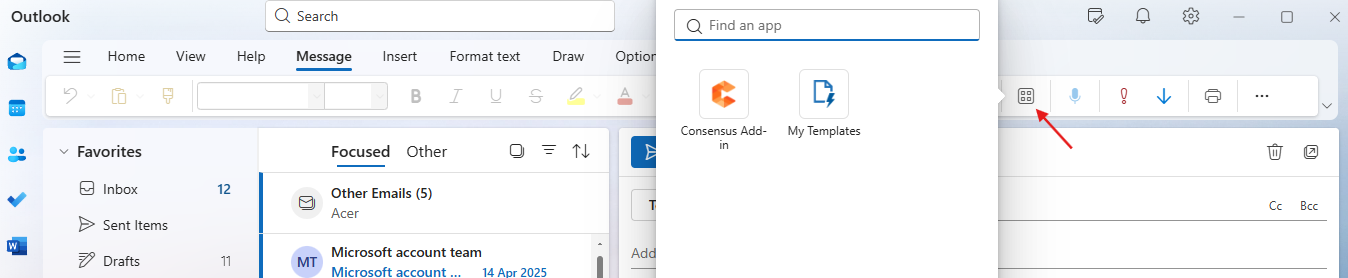
App Button
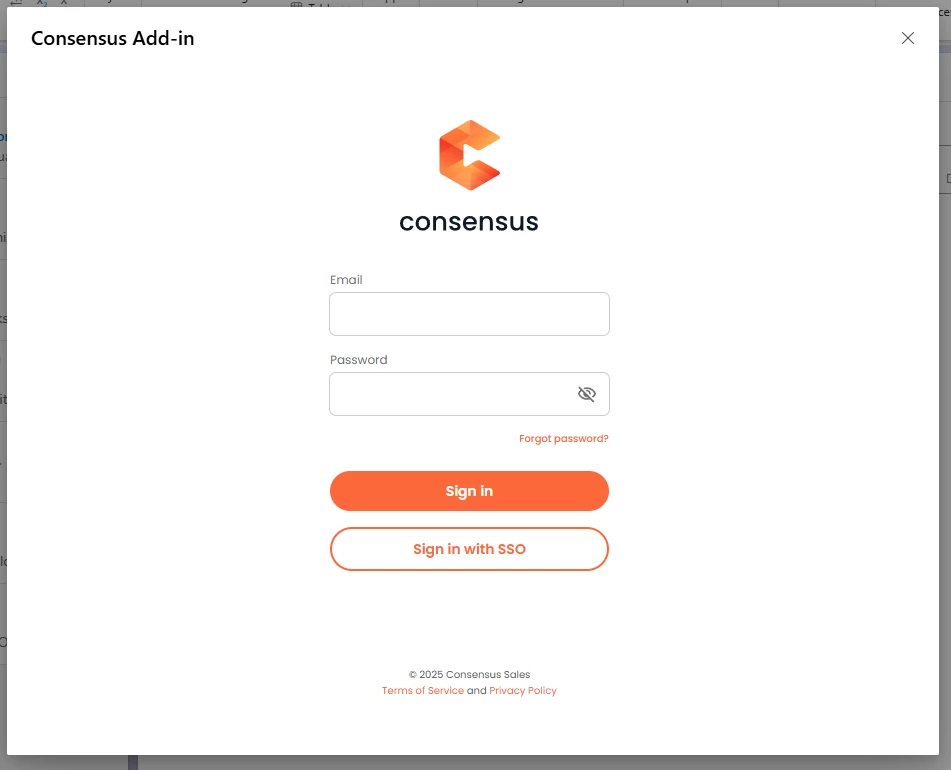
Click the Consensus Add-in which will prompt you to add your Consensus email address and password. Enter your Consensus Credentials and click Sign In or authentiate via SSO.
You are now connected to Consensus and ready to use the Add-in to send out unique DemoBoard links right from inside of your Outlook!
Creating DemoBoard links with the Consensus Outlook Add-in
Now that you have installed and configured the Consensus Outlook Add-in, you can easily create DemoBoard links for the recipients within your emails. Below we will walk you through the process of creating a DemoBoard for your email recipients with some Tips and Tricks along the way!
- Start by Creating your Email (whether that is a New Email or a Response a
 ] to an existing email thread)
 - Add the recipient(s) you want to be invited to the DemoBoard within the 'To' Field
-
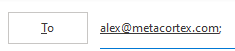
To: recipient - Consensus will automatically add these recipients to the Recipient Invite list when you create the DemoBoard, so you don't have to do it manually.
- TIP* Make sure the recipients are known Contacts within your Outlook so we can pull in their First & Last Names automatically for you too!
- Learn how to add a recipients to your Contacts list here
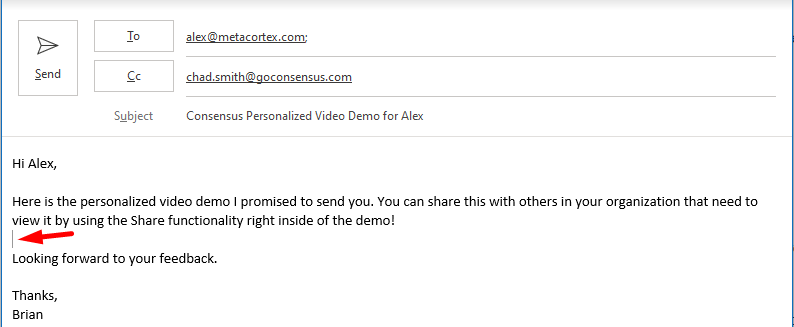
- Anyone added to the CC or BCC fields will not automatically be included within the DemoBoard invite
- TIP* This is a great way to add other Team members on your email without them being added to the DemoBoard invite link.

CC
- TIP* This is a great way to add other Team members on your email without them being added to the DemoBoard invite link.
-
- Now fill out the Subject and Body of your Email
- TIP* We recommend using terms like 'Personalized Video Demo For' or other terms denoting the unique experience they will have with your Consensus Demo. This helps drive interest and click-through rates!
- Once you have the Subject and Body ready to go, place your Cursor where you want the DemoBoard link to appear
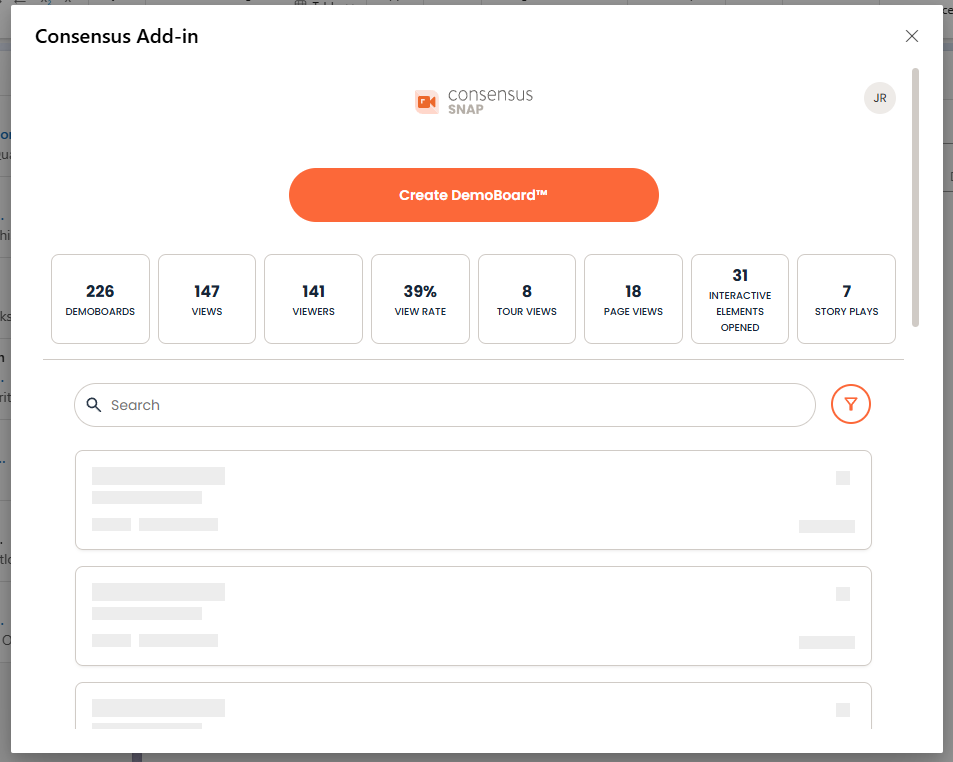
Your cursor - Now click the Consensus Icon inside Apps under the Message tab to initiate the Consensus Outlook Add-in. This will bring up the modal where you can create the DemoBoard for your recipient(s)

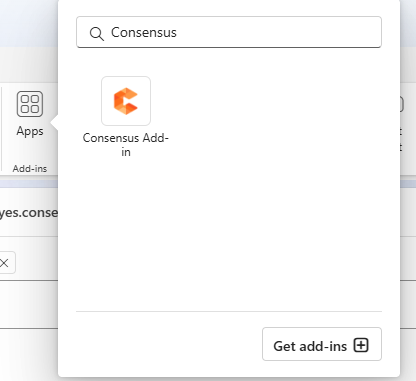
Consensus icon If Consensus is not appearing inside Apps, try manually searching for "Consensus" and it should show up afterward.
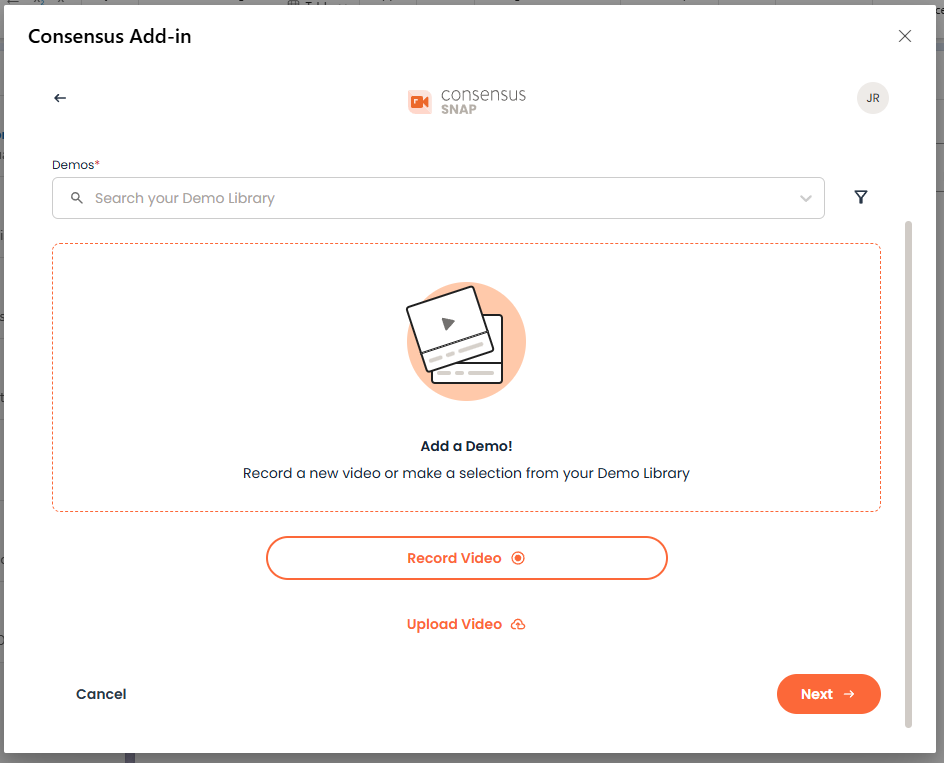
The first step is to click Create DemoBoard and search/select from the dropdown which Demo you want to use within your DemoBoard invite.
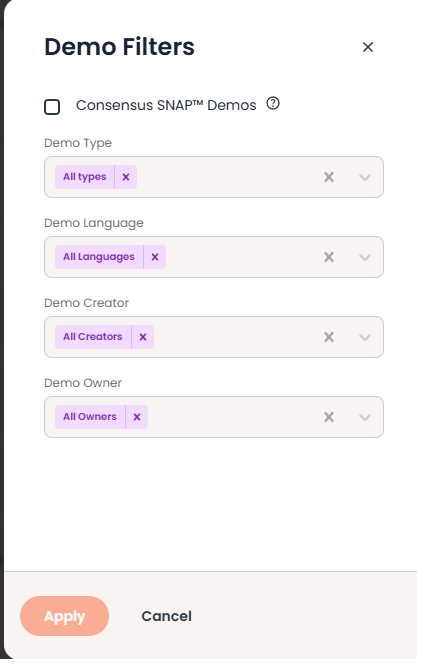
Use "Search" or click the filter option to narrow down and find the demo you are looking for, you can also record/upload your own Demo.
You can add a maximum of one Advanced Branching Demo, but include up to 15 Single Experience and/or Standard Personalized Demos in your Playlist.
-
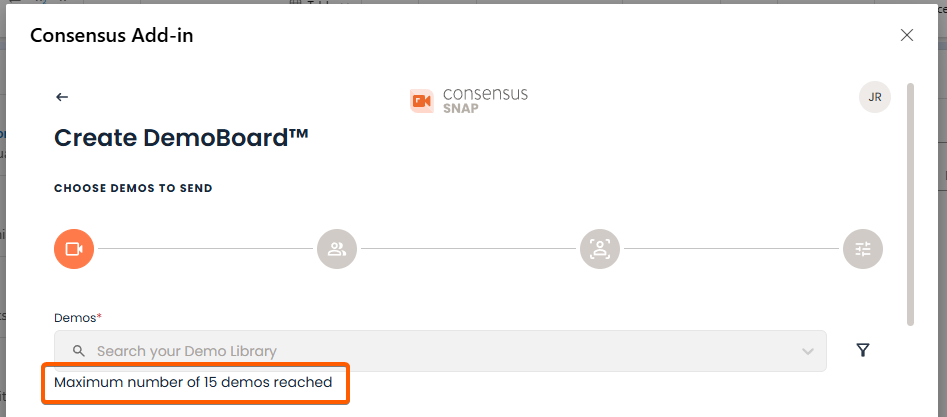
Maximum of 15 Demos in playlist You can rearrange them to set the viewing order, preview by clicking the eye icon, and add it to your favorites.

Reorder, preview or favorite a Demo
Selecting next will jump you to the next step (Recipients info)
- Start by naming your DemoBoard. Use a clear and unique name to easily identify and track it later.
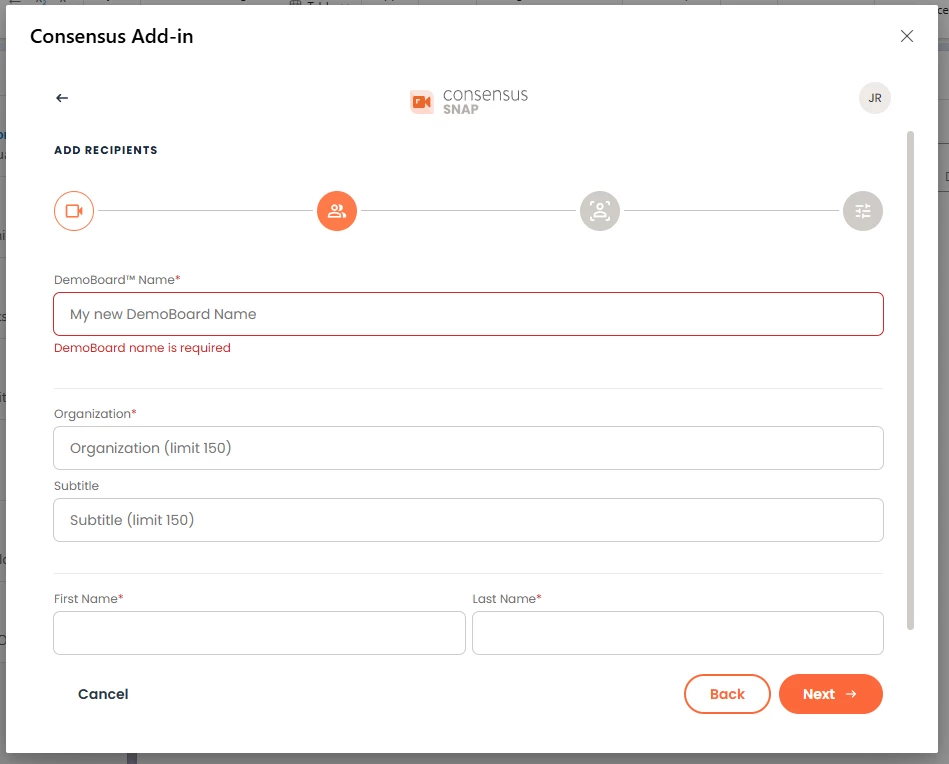
Next, make sure all of the recipients you want included within the DemoBoard invite are listed.
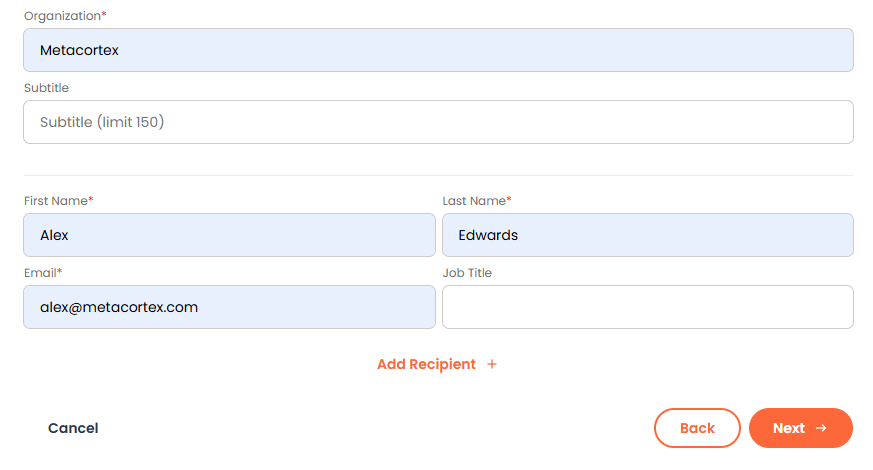
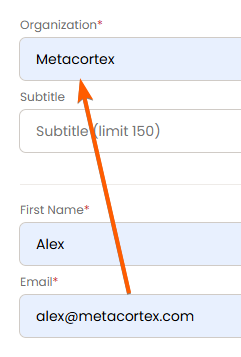
Consensus will Populate the Organization field based on the email domain of the first recipient
You can add additional Recipients here that you want to be part of the DemoBoard by clicking “Add Recipient +”.
- Note* These recipients will not be added to your email
- Once your recipient info is set, select next to go to the next Step
- In the next step, you can add a Personal Intro Video (PIV) to your DemoBoard.
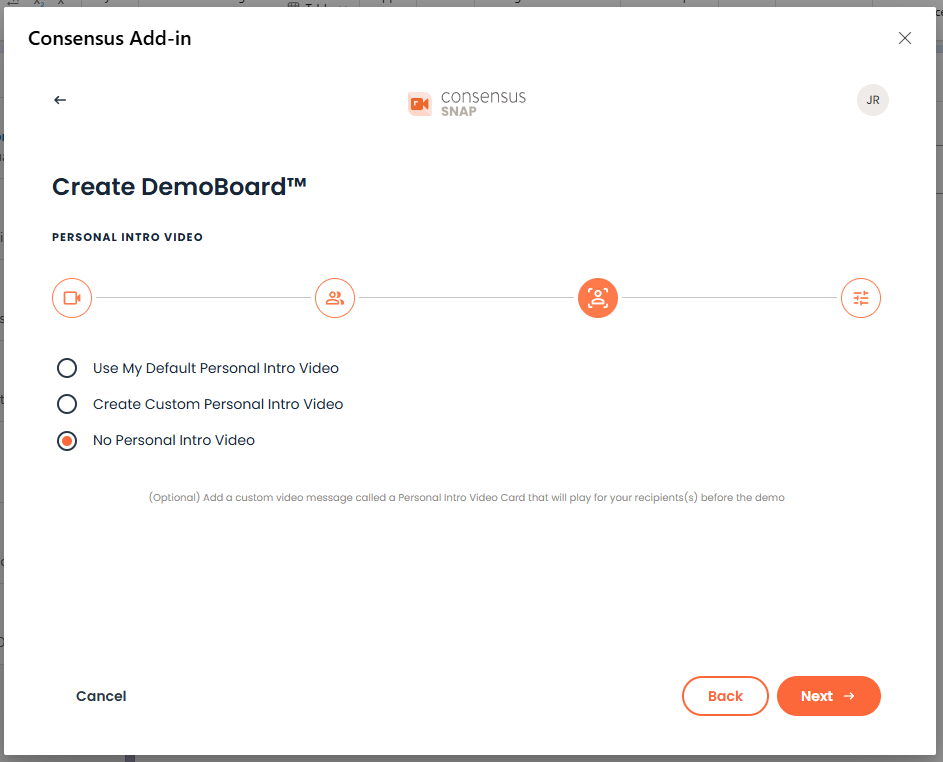
Add an optional custom video message called a Personal Intro Video Card that will play for your recipients(s) before the demo
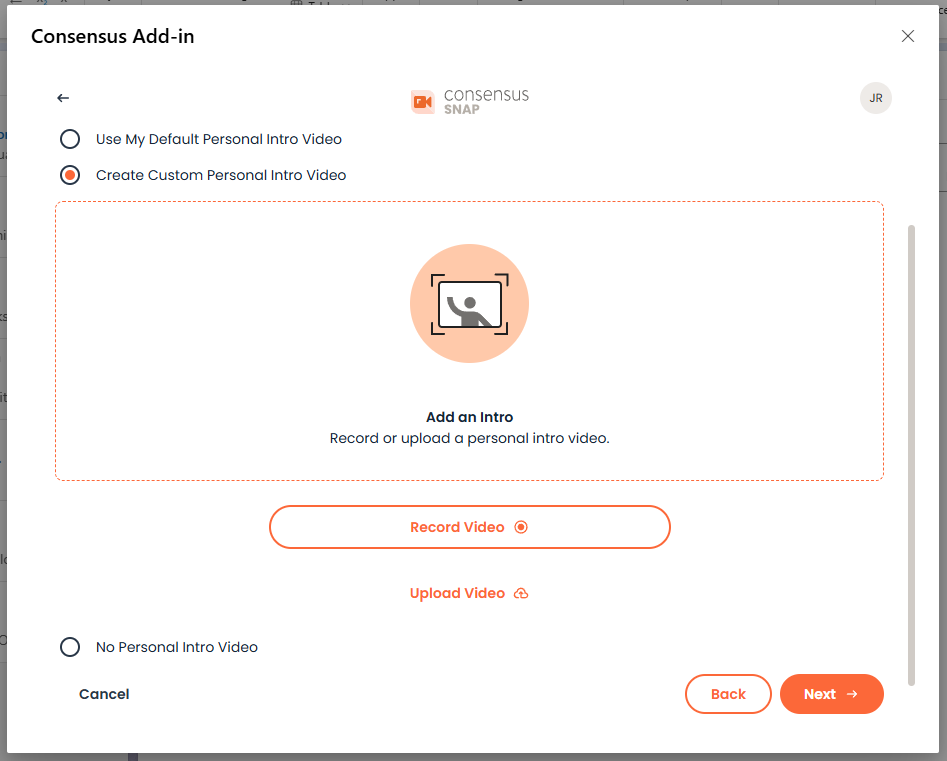
- If you have an existing Personal Intro Video, the Add-in will use it by default. Use the Preview Icon to review your PIV before you send it!
- You can also create a custom PIV for this specific DemoBoard
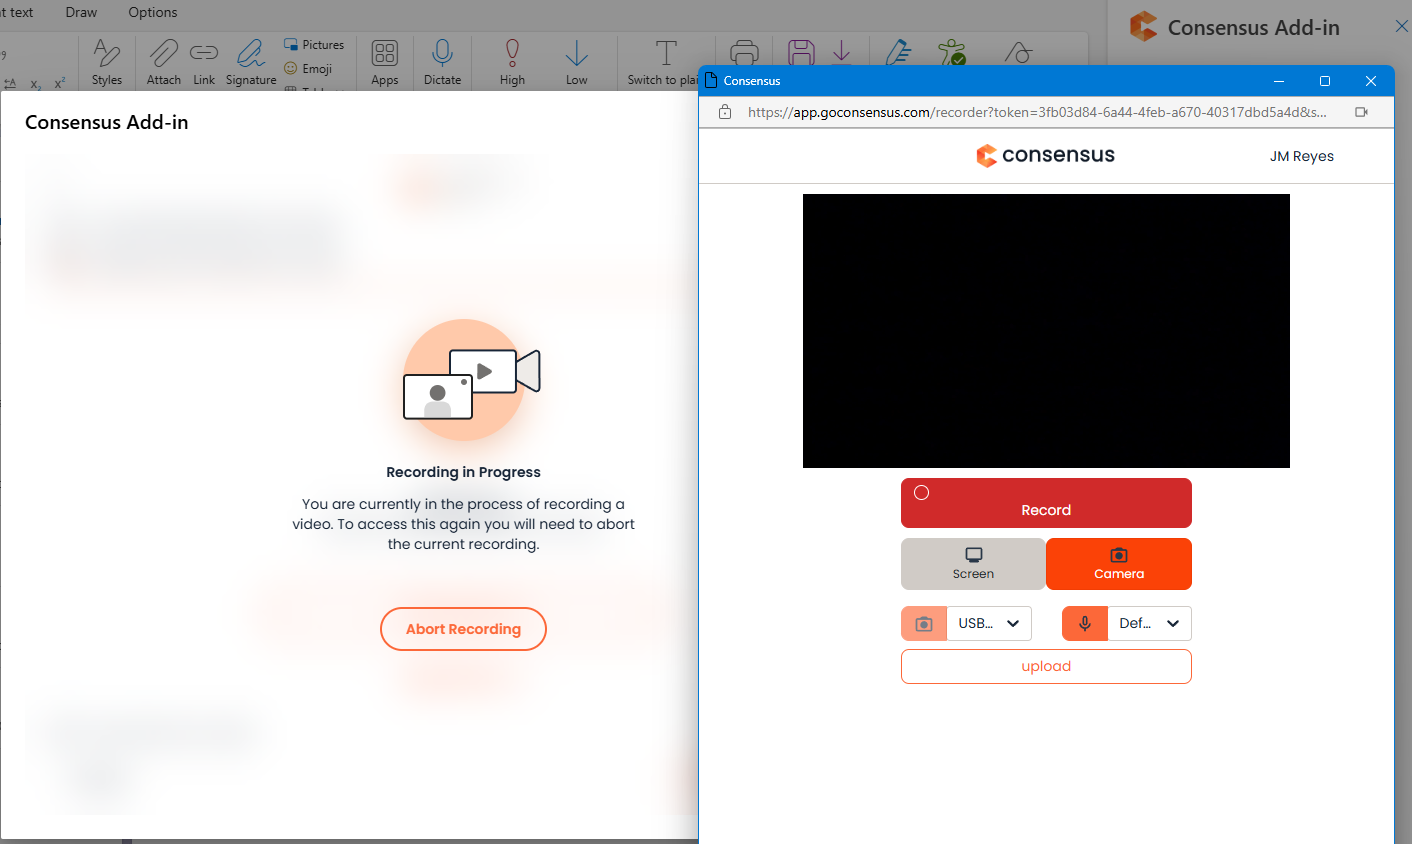
Select 'Create Custom Personal Intro Video and then click 'Upload' or 'Record New'
You can preview your PIV, download it to your computer, or delete it and record a new one

After recording, you will have a chance to Trim your Custom Intro Video as well as set a Title for it.
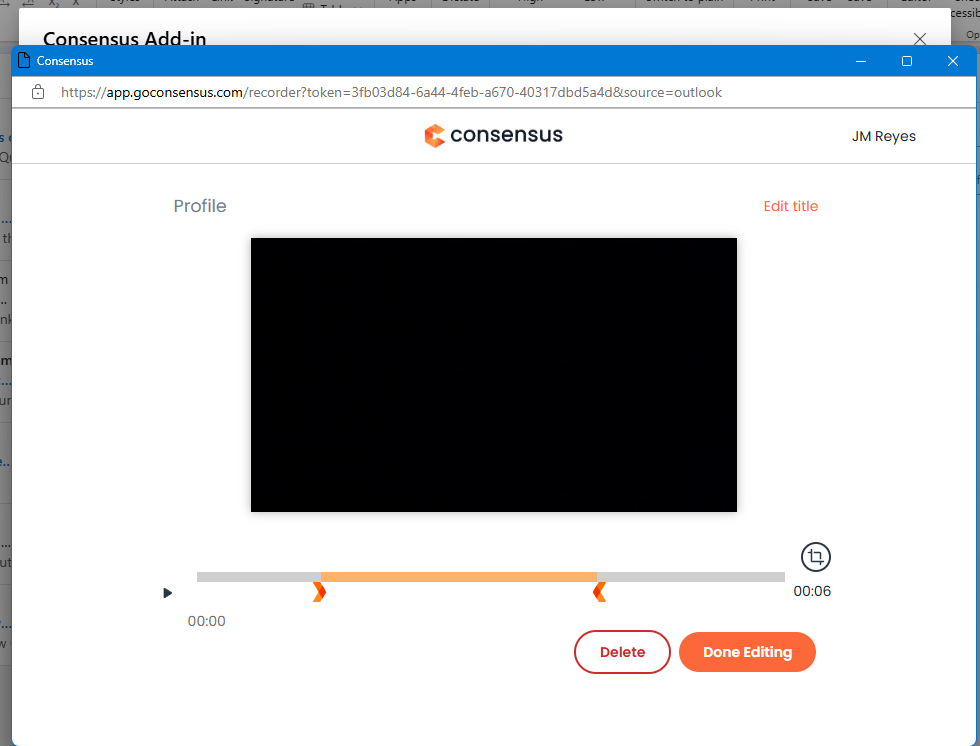
Once everything is set, simply click on 'Done Editing' and your Custom Intro Video will save in Consensus and show within the Intro Video step.
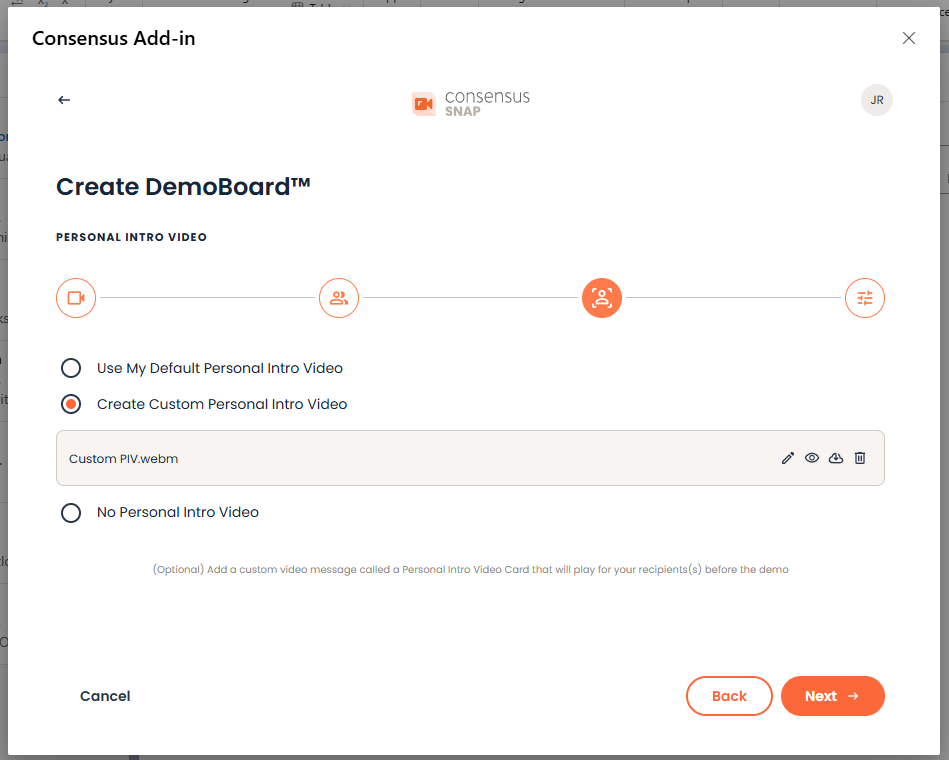
If you don't want to use the PIV feature, simply select to not include a PIV within the DemoBoard
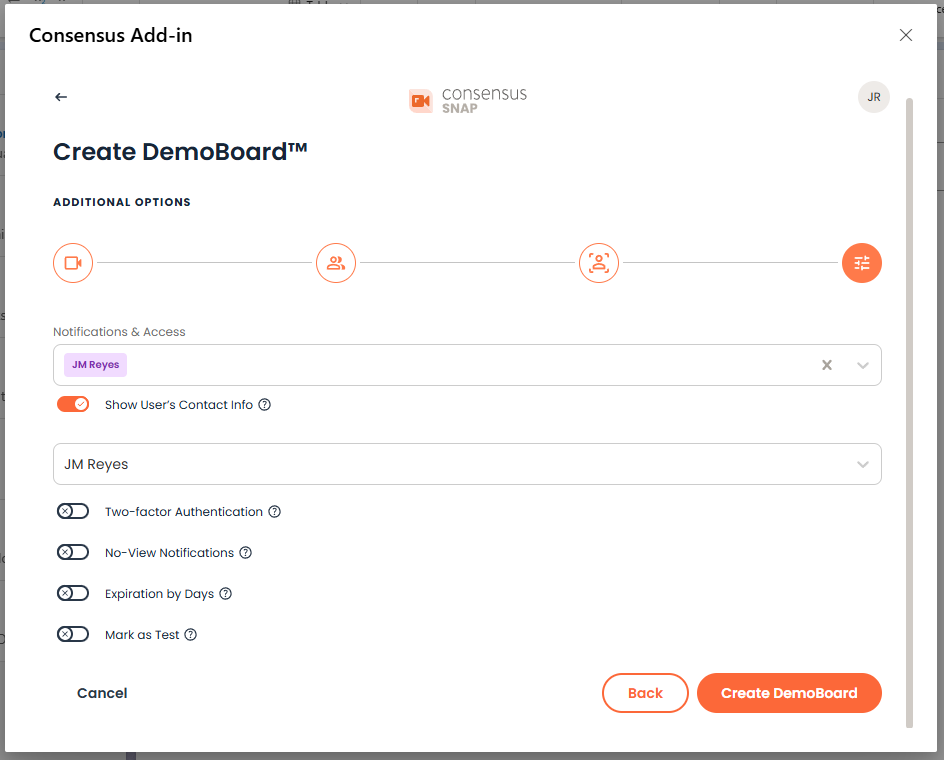
- The 4th step is to choose who you'd like to add as a notifier for this DemoBoard. A 'notifier' can either be a specific rep or reps on your team or a group which has been created within your account. These notifiers will receive the same notifications you receive when a prospect views, shares, or interacts with the DemoBoard. From this tab you can also toggle on the show user contact info, see this Article for more info on that feature. You can also enable 2FA, enable No-View Notification, set an expiration, or mark the DemoBoard as a test.
- The final step is click the Create DemoBoard and determine which Link Type you want to insert within your email
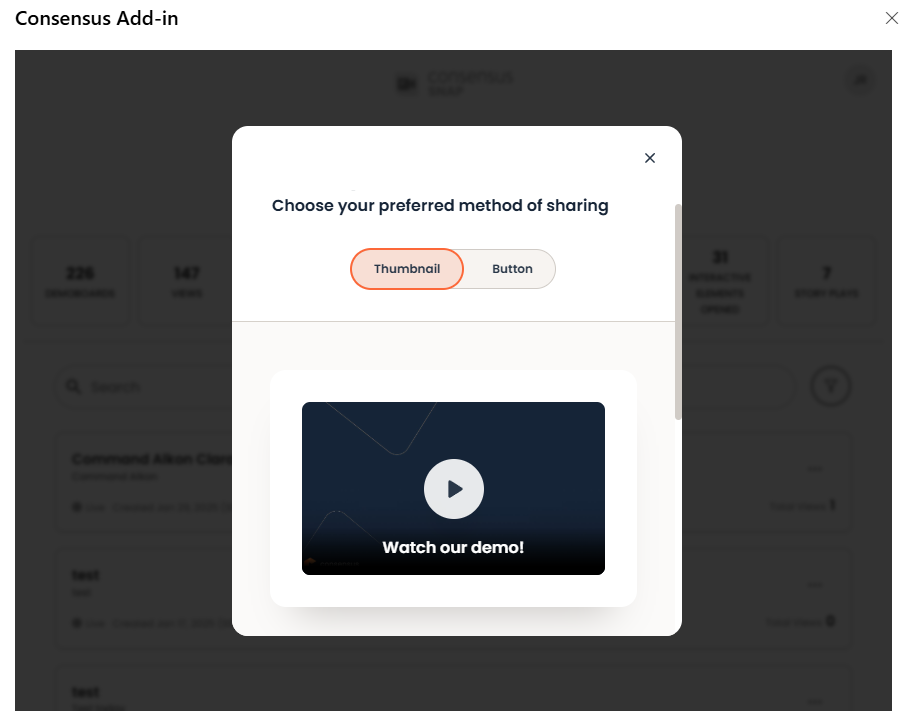
- Image Link - The image link grabs frames from your Demos to create an image thumbnail. You can adjust the text shown within the thumbnail as well as determine if you want the text to appear on top of thumbnail.
TIP* Choose a thumbnail from the available images grabbed from the Demo or you can upload your own thumbnail by selecting 'Upload Image' and finally click Insert Thumbnail to paste it in your email
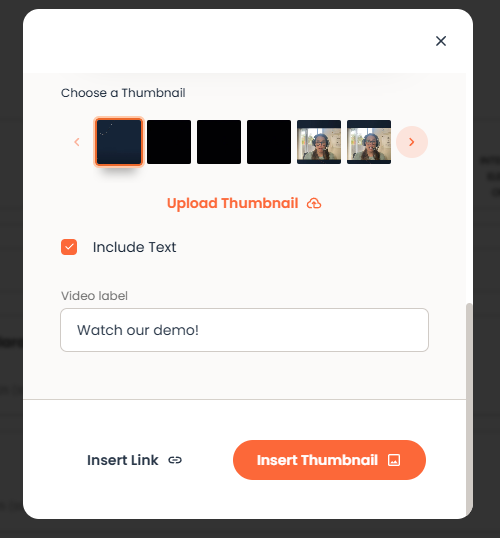
TIP* You can adjust the size of the image by selecting it and then dragging one of the circles on the corners.

- Button Link - This allows you to build a button you can include within your email that will by hyperlinked to your DemoBoard.
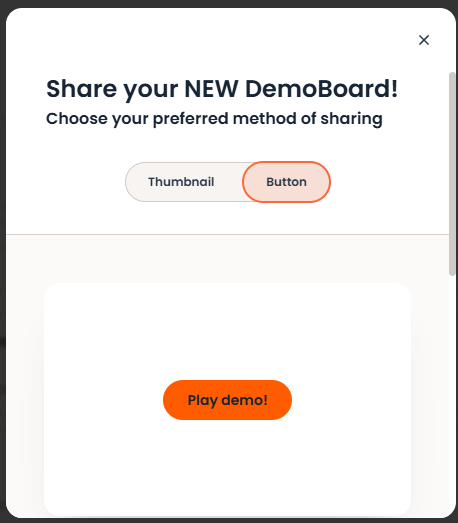
TIP* Adjust the button text, corner radius, along with the fill and text color to personalize the button as needed!
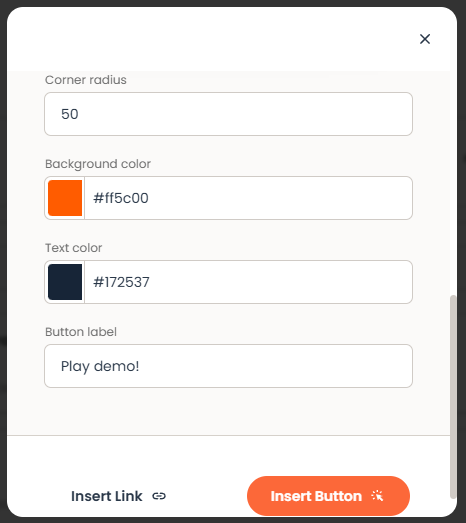
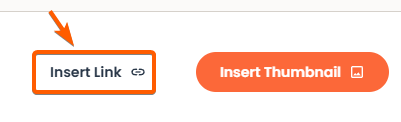
Insert Link - This allows you to insert the actual URL text for the DemoBoard invite.