

Here's how to let Consensus initially sync, and then manage, any Group and Role values between Consensus and Okta.
Step 1: Enable Group and Role Sync for SSO Provisioning within Consensus
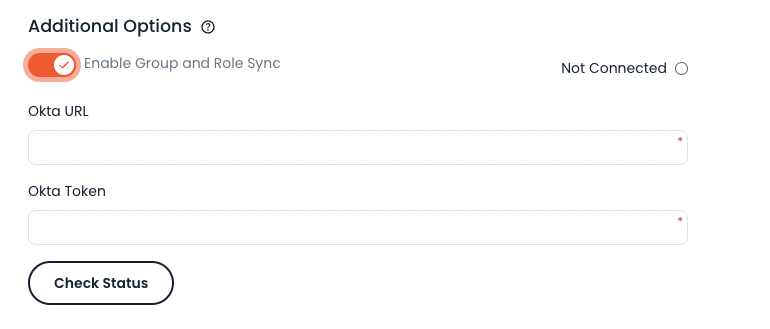
Login to Consensus, and go the Settings in the lower left-hand corner. Select Integrations and then navigate to the SSO tab. Scroll down to the enabled SSO Provisioning section on the page, and then enable the next toggle "Group and Role Sync."
Step 2: Create a new Okta API Token for Consensus
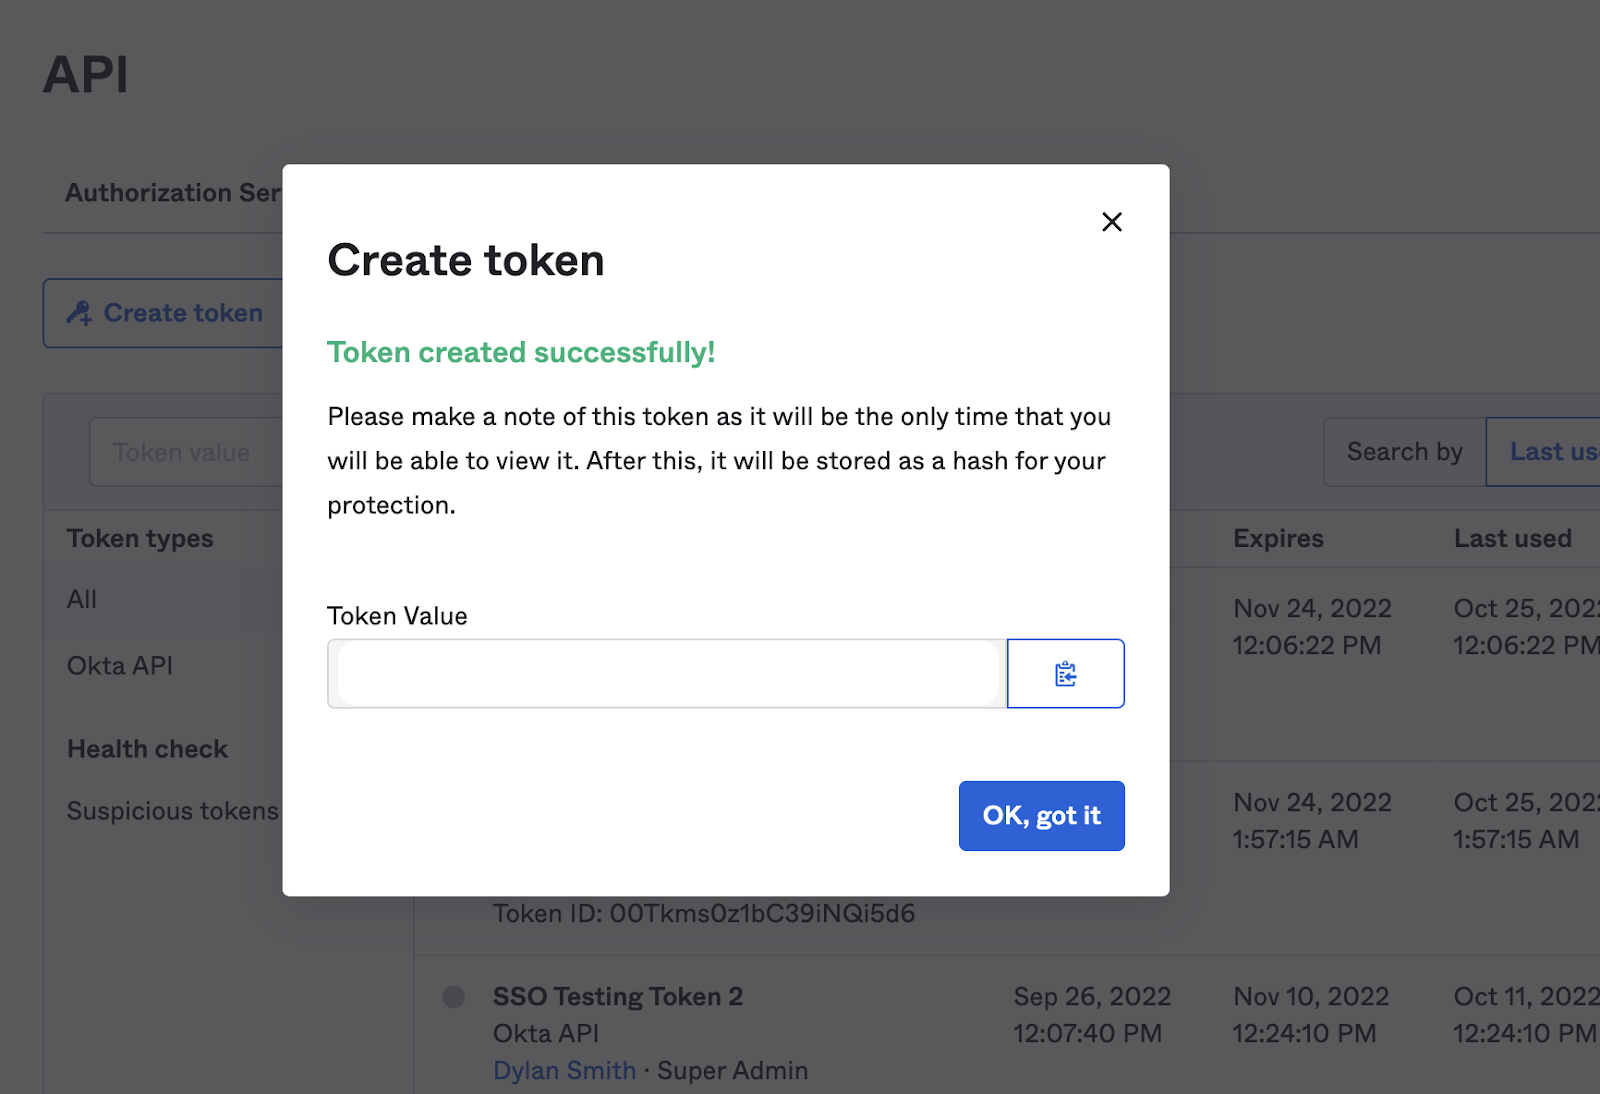
When logged into Okta as an administrator, select “Security” > “API” from the left hand menu.
Create a new token called “Consensus SSO Provisioning” or something that helps you identify its use properly, and copy the new token value.
Okta Token - Insert the generated token from Okta
- Paste in the token you just copied from Okta, into the “Okta Token” field.
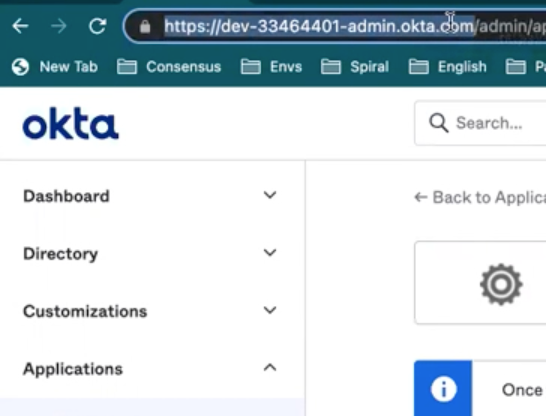
Okta URL - Insert URL from Okta
- Visit your Okta account and copy/paste the first part of the URL
Click ‘Check Status’. The red text that says “SSO provisioning not available” to the right of SSO Provisioning should turn green and say “Available to Connect”.
Click ‘Save’ at the bottom of the page
A green pop up will say “SSO settings have been updated”
Within about 5 minutes, Consensus will automatically create 2 new profile attribute called Consensus Group and Consensus Role, and will automatically build the correct values for the attributes based on the Groups and Roles you have already built in your Consensus account. You can see these within Profile Editor as Custom Attributes for the specific app that you enabled for SAML Auth with Consensus.
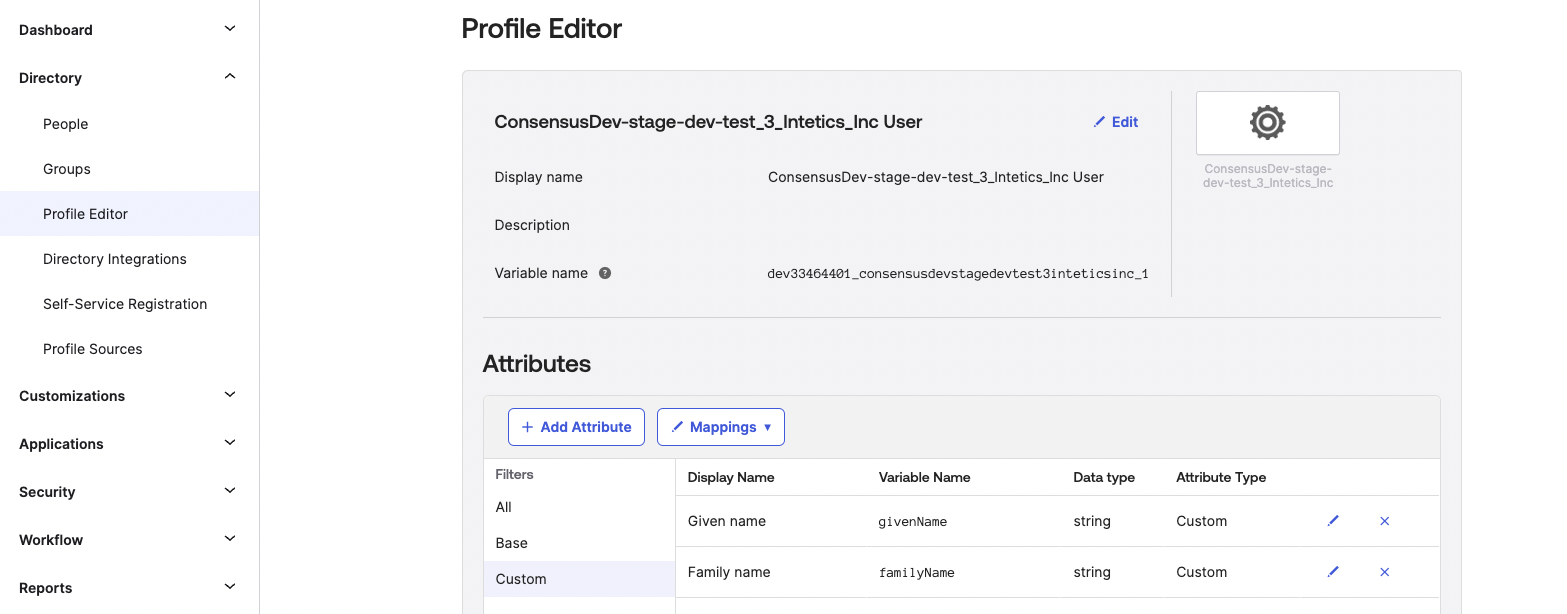
In the list of custom attributes, you should not see two new values for Consensus Role(s) and Consensus Group.

These attributes will then be required to fill in whenever new users are assigned to the Consensus app within Okta.