
Tagging makes it easy to find demos and folders within your account. The following article details how to manage and assign tags.
Tags act as powerful keywords that make it easy to find the content you need. Based on your unique predefined tags, you can quickly locate your demos or folders. Tags also allow you to do more precise filtering by combining them to narrow down searches and quickly find exactly what you need.
Who can see tags?
All users within your organization can see tags and the ability to filter demos and folder by these tags. This makes it easier to find and organize your demos and folders.
Who can create tags?
Tags can only be created by admins and those who have been assigned to be a “Tag Admin”.
To add a user as a ‘Tag Admin’, navigate to Settings > Manage Users & Access > Roles & Permissions > Add Role > Access > Admin > ‘Tag Admin’ and update their permissions.
Who can assign tags?
Tags created within the organization by admin users can be assigned to both demos and folders.
By default, the following roles can assign tags: Admin, Content Manager, Content Creator and Reseller - Content Manager.
If you are an admin and wish to add a custom role with the ‘Tag Assignment’ permission, navigate to Settings > Manage Users & Access > Roles & Permissions > Add Role > Access > Demos > ‘Tag Assignment’ and update the role.
Where can I manage my tags?
Admin users can access the Tags Management section by navigating to Settings > Global Demo Settings > Tag Management.
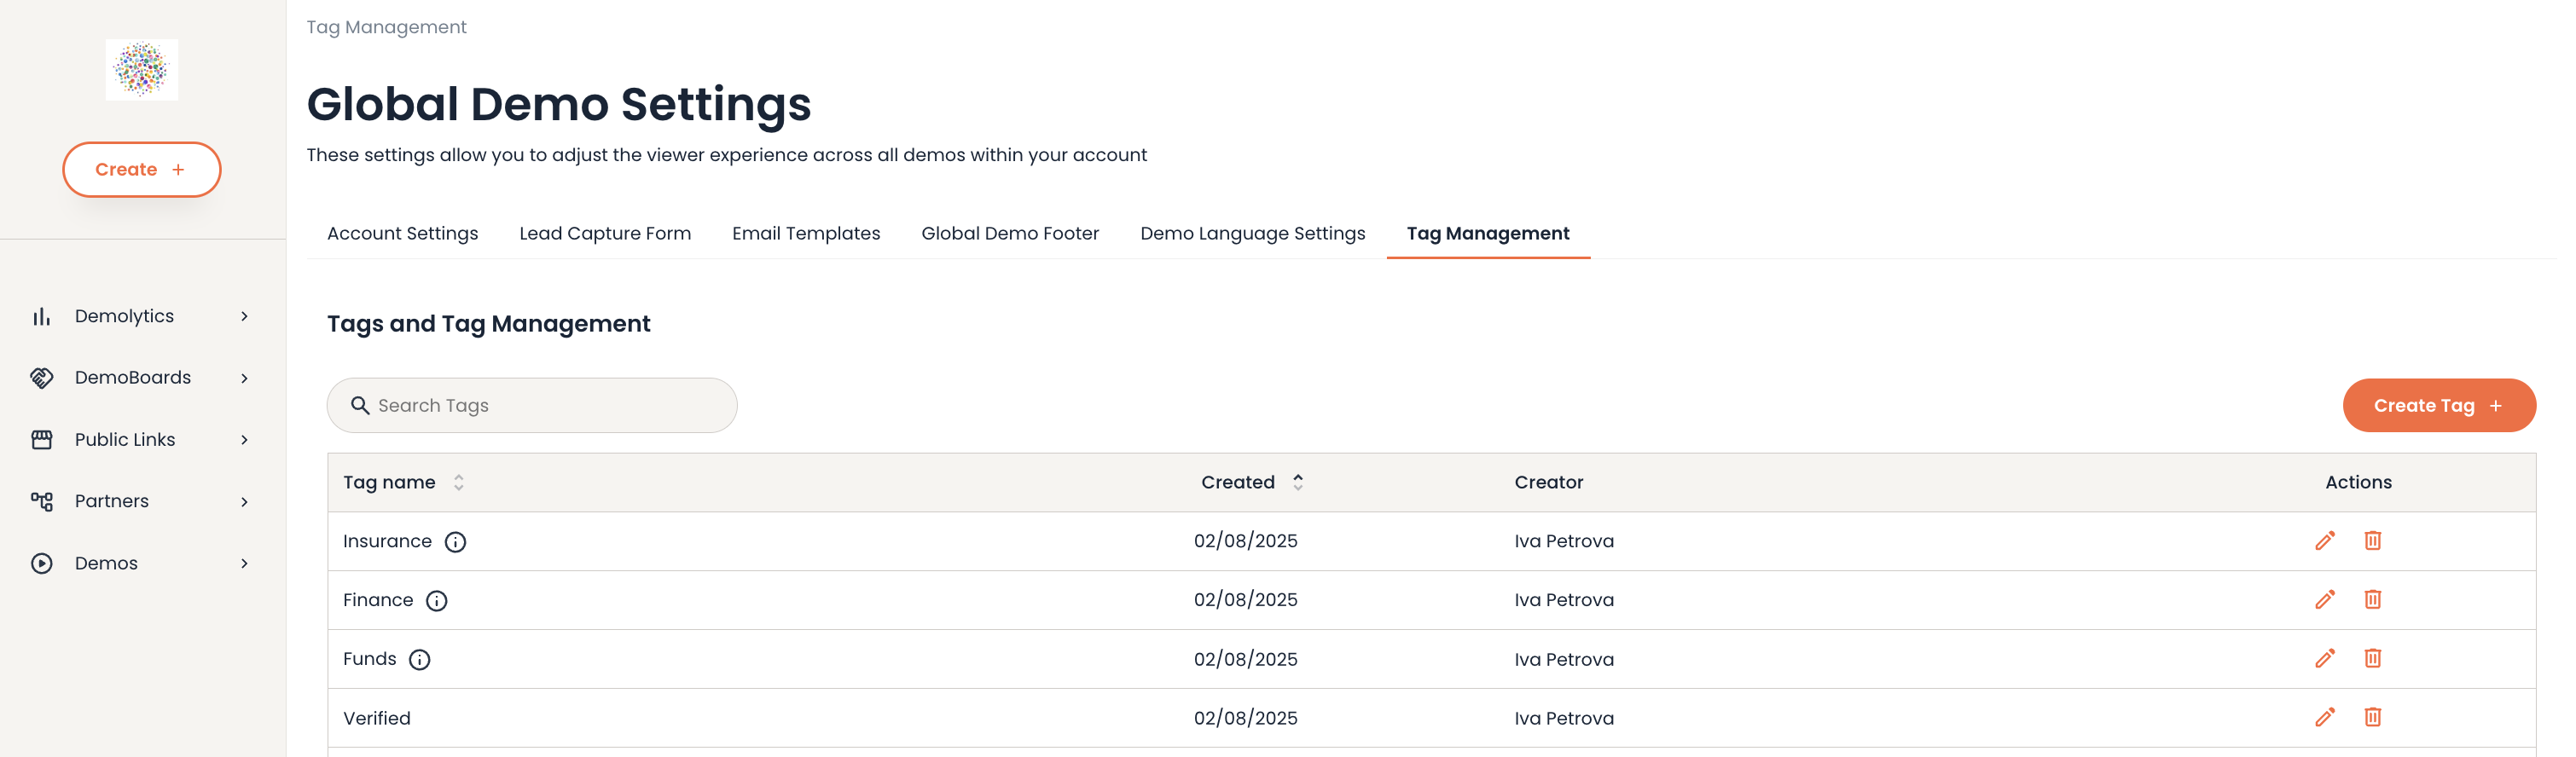
The new Tag Management feature allows you to create, edit, delete, and search for tags. This makes it simple to manage tags for users within your organization.
Here’s what you can do with the Tags Management functionality:
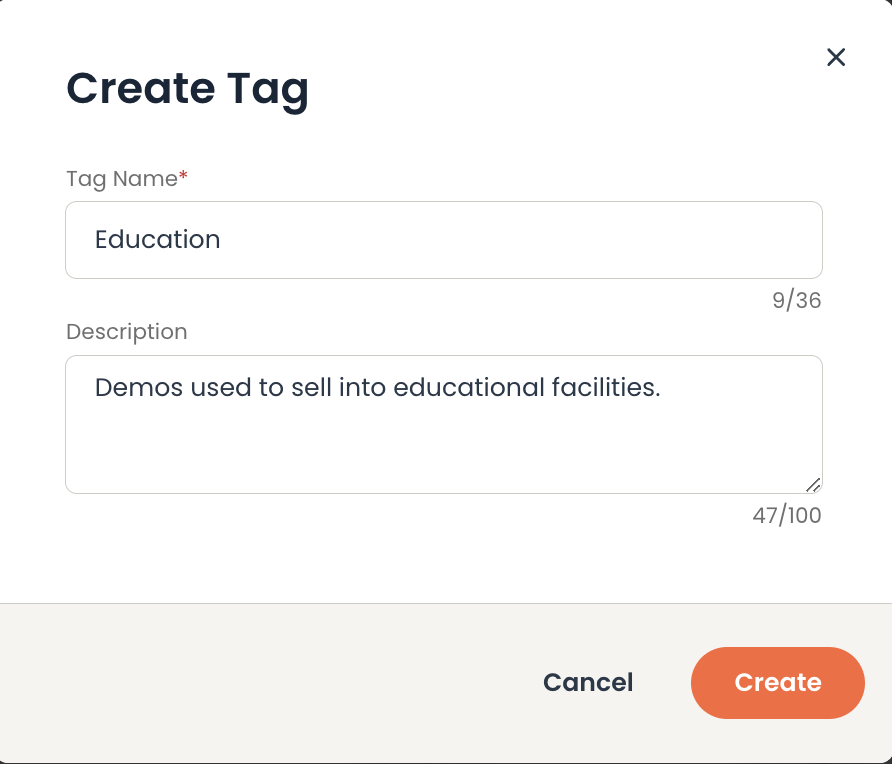
- Admin users can create new tags by selecting the 'Create Tag +' button, which opens an 'Edit Tag' modal. Here you can add relevant details for your new tags, including the ability to update the tag name and description.
-
The ‘Тag Name’ field accepts letters: a-z, A-Z, numbers: 0-9 and certain special characters: '-' and '_', enabling you to create unique and identifiable tag names. Spaces are also allowed and the Tag Name length limit is 50 characters.
-
A tag name can only be used once.
-
Each demo can use up to 10 tags.
-
The created tags are available on the demo and folder levels, so everyone with access to the demo or folder with a tag can see that tag.
-
Only users with 'Tag Assignment' permission can add or remove tags from demos.
- A dedicated search field is available to locate the tags by their name.
- The tags table provides an overview of the following tag details for effective management:

- Tag Name: Hover over the information (i) icon next to a tag's name to display a tooltip containing the details from the tag's description.
- Created Date
- Creator
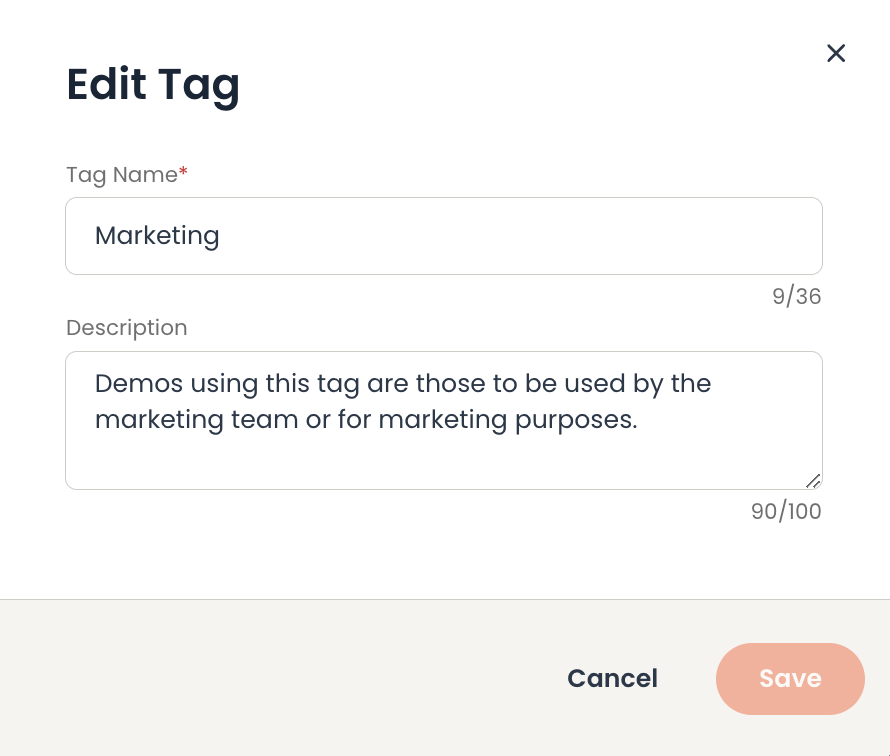
- Edit: This option allows you to modify the tag through an 'Edit Tag' modal.
-
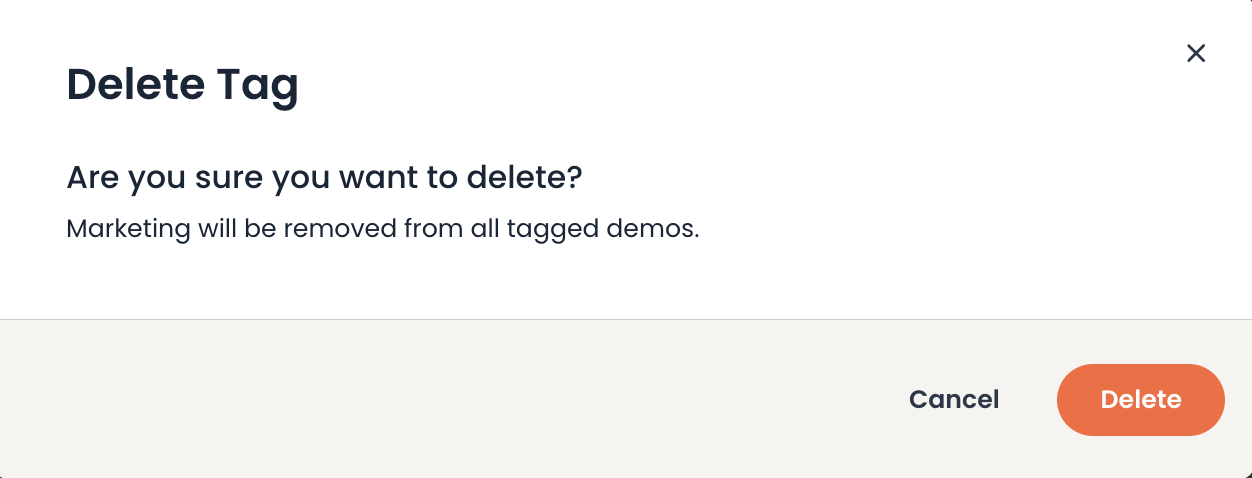
Delete: This option allows you to remove the tag. A confirmation is required before proceeding with the deletion. Once confirmed, the tag is removed from all demos and folders associated with it.
-
How can I assign tags?
If you have tag assignment permission, you can select from the list of predefined tags for your organization. This can be done on the Demo Library page and while editing or creating a demo. Here's how you can add and edit tags:
Demo Library page
To assign tags to your demos or folders, please follow these steps:
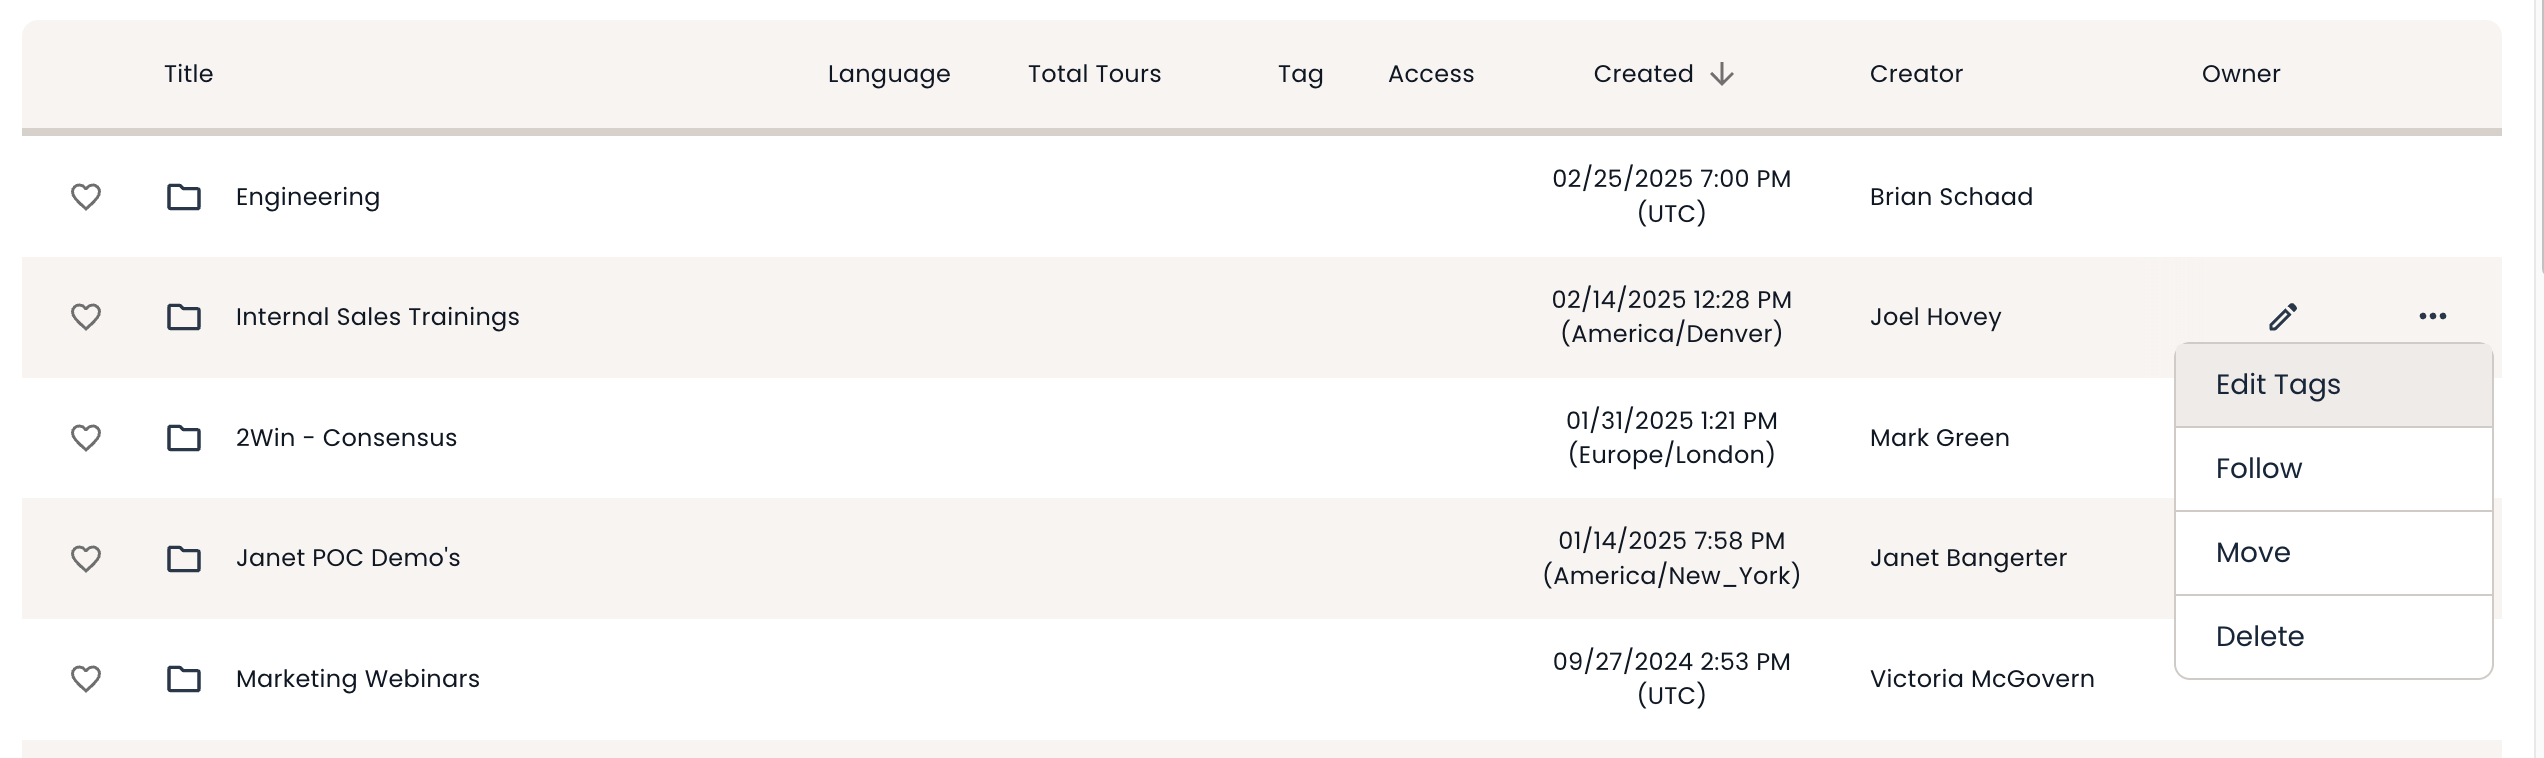
- Click on the ‘…’ menu for a specific demo or folder and select the ‘Edit Tags’ option from the dropdown list.
-
- A ‘Tags’ modal will appear, enabling you to assign the desired tags to your demo or folder.
-
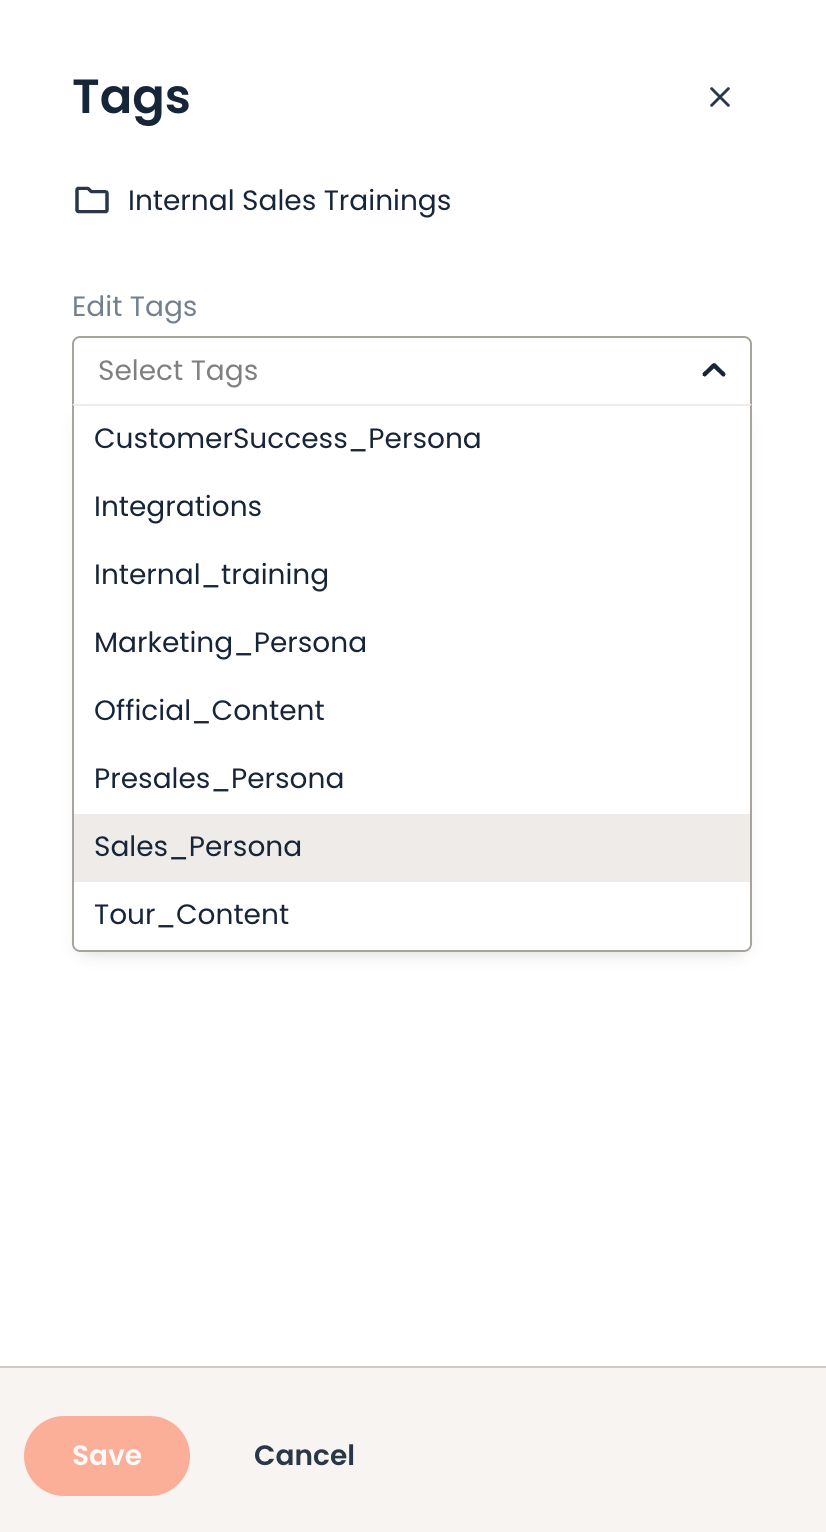
- You can select from the predefined tags your admin created. Once you have made your selection, click to assign the chosen tags to the demo.
- You may also enter a search term in the 'Tags' search field to find a tag.
- If you need to remove a tag, click the 'x' icon on the tag and it will be removed from your demo.
- Save your tag selection and the tags assigned to your demo or folder will be displayed in the Tags column on the Demo Library table.
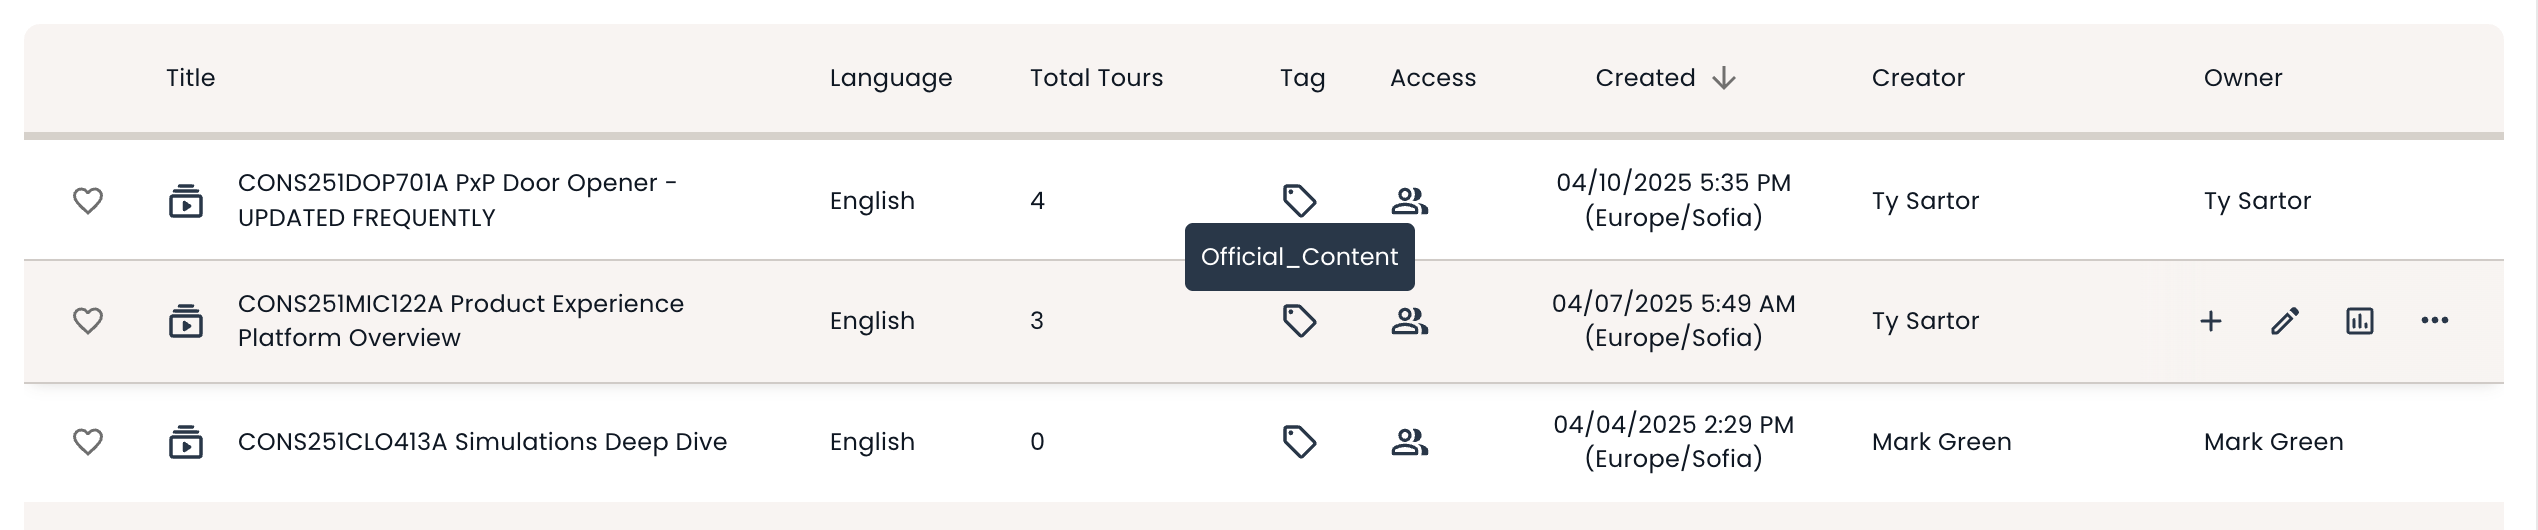
In the 'Tags' column, you can see the count of tags associated with each specific demo or folder. Hover over the tag icon to show all the tags assigned to that demo or folder.
Demo Edit/Creation workflow
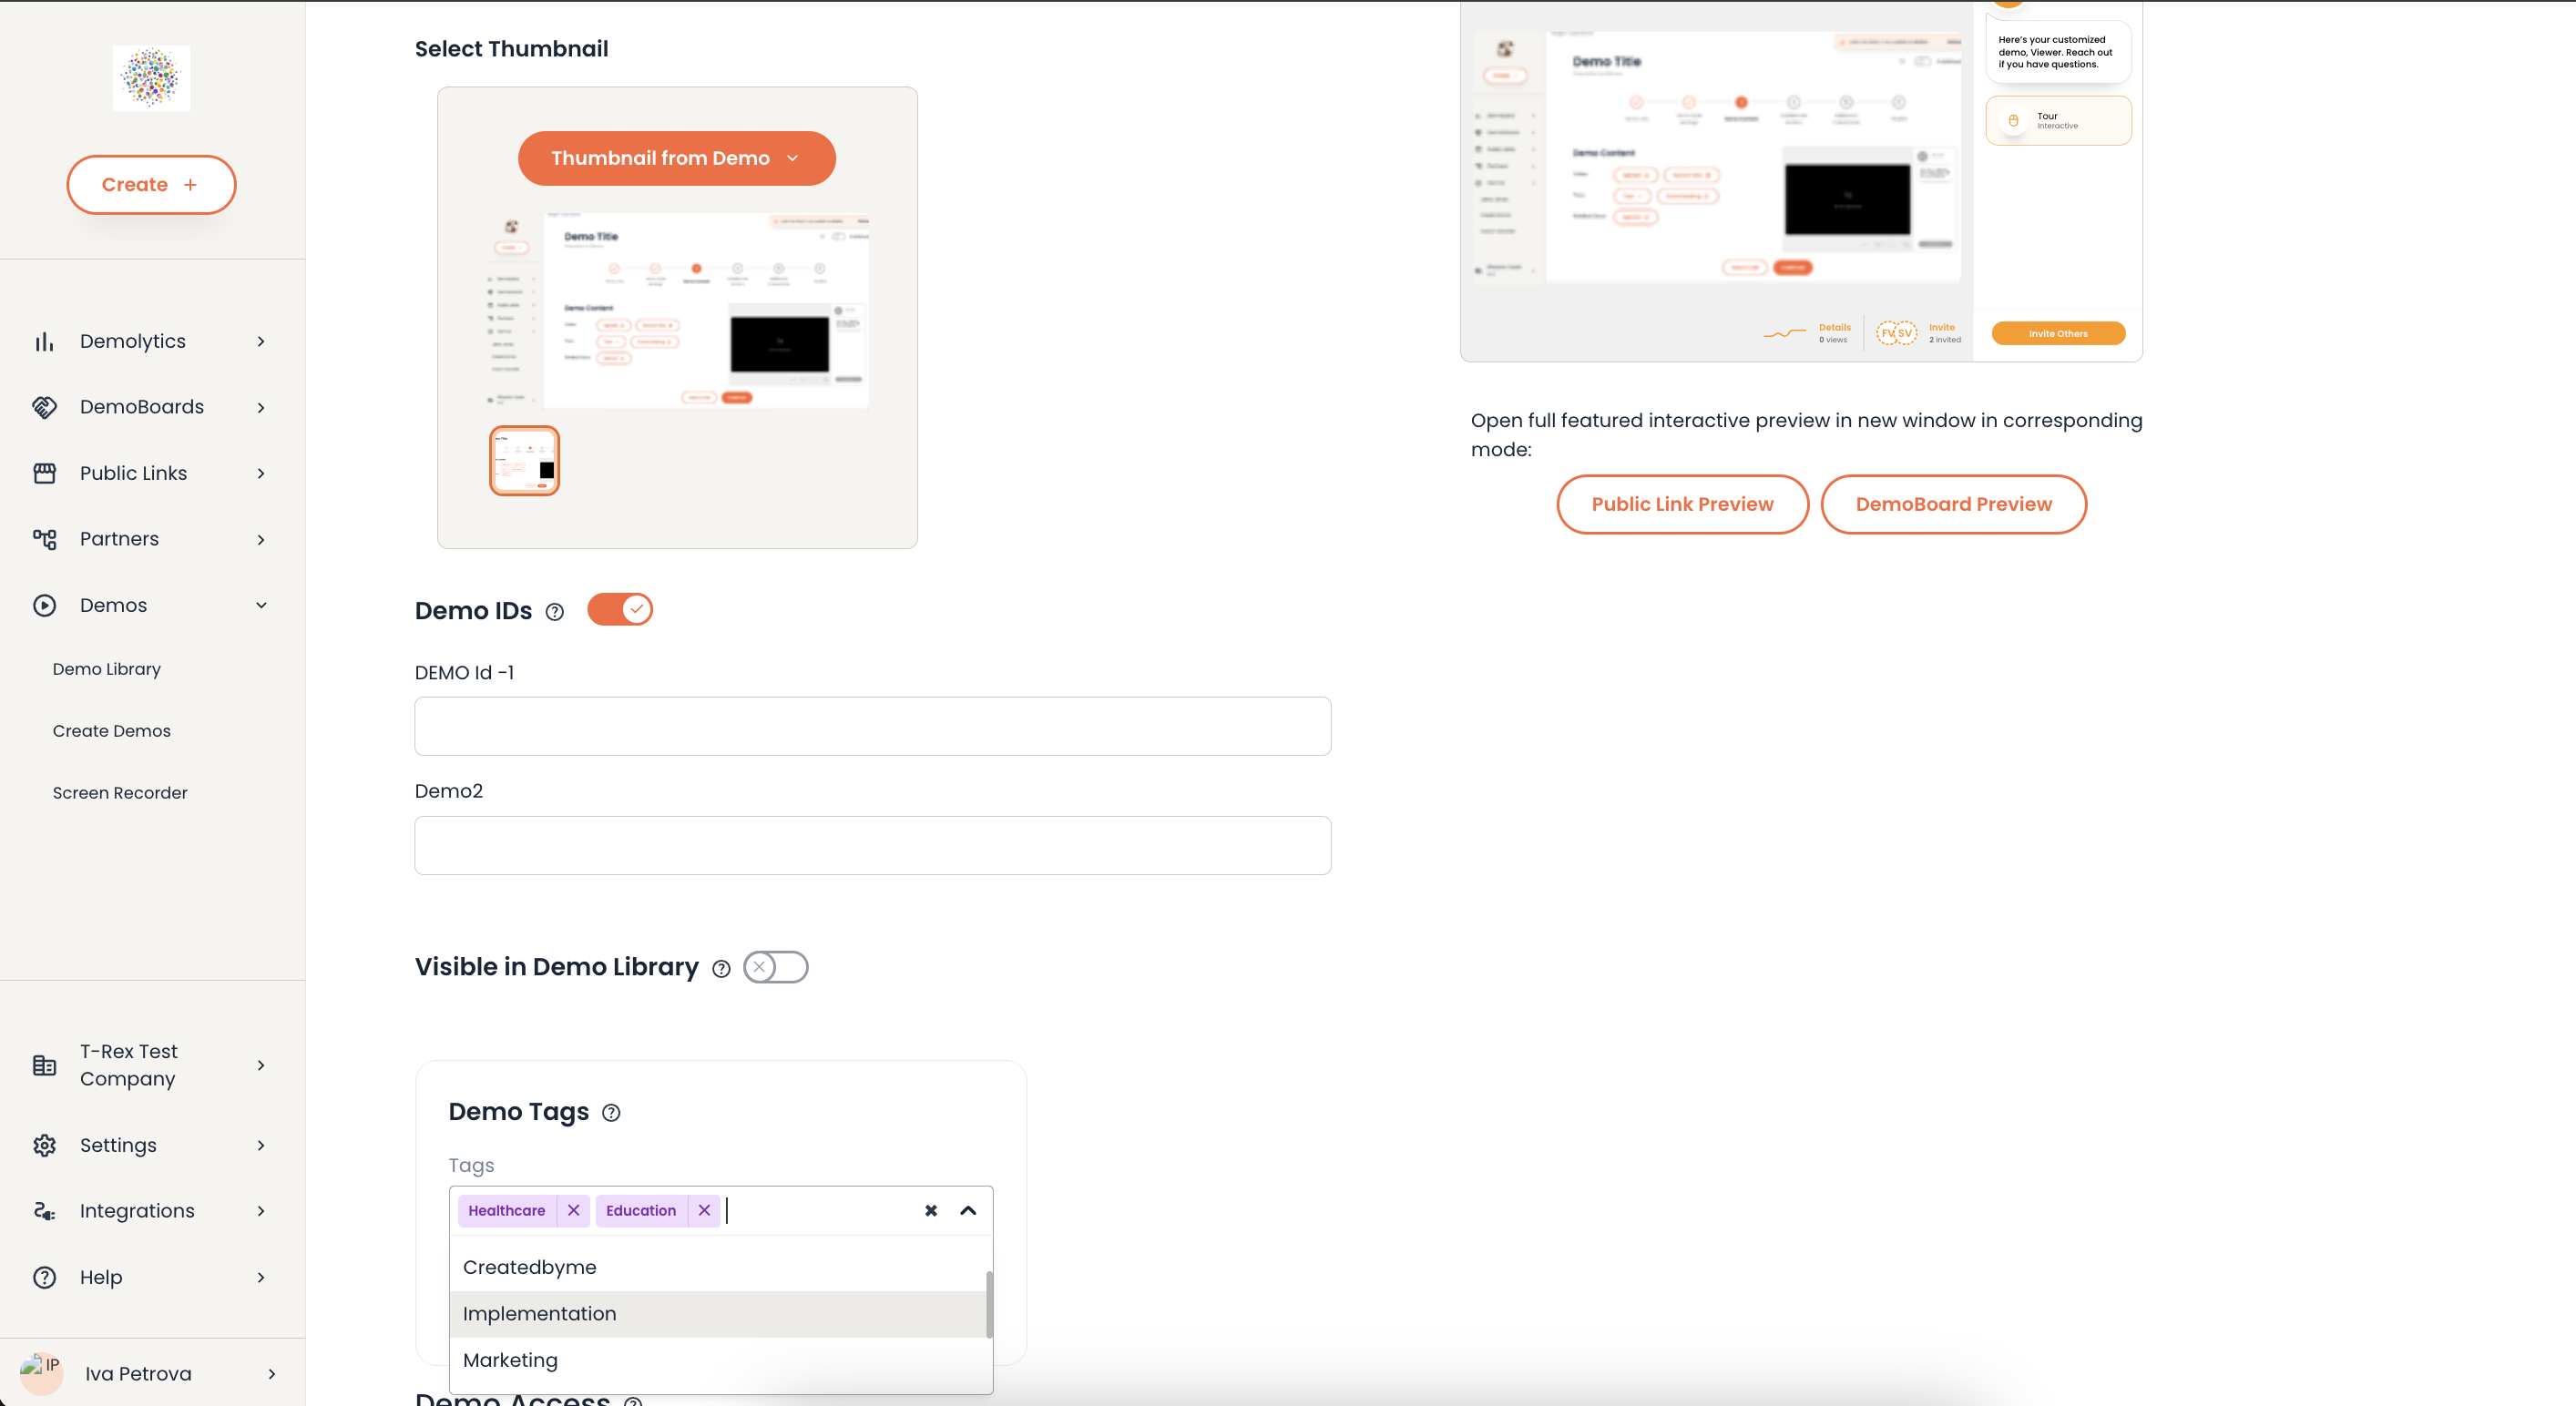
- You can also assign tags on ‘Step 6’ of the demo editing process or the demo creation flow. Find the tag selection in the 'Demo Tags' section.
- To add a tag, enter your search term in the 'Tags' search field and select the tag you want to include.
- Should you need to remove a tag, click the 'x' icon for the tag and it will be removed from your demo.
- Once the demo is finalized, the tags will be visible in the Tags column of the Demo Library table.

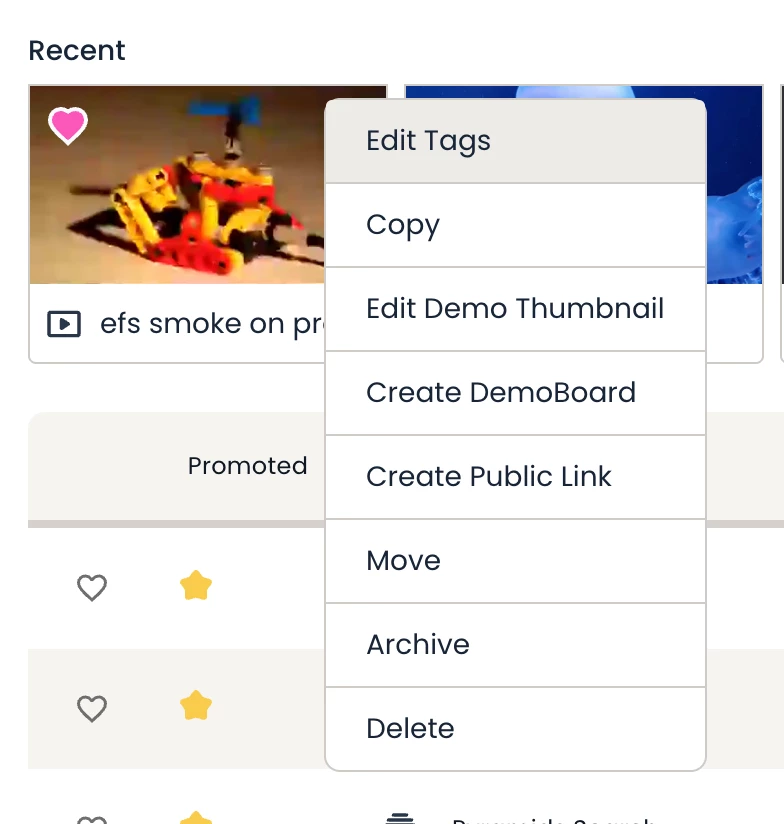
Recent Demos - Demos Thumbnails
- You can also assign tags if you select the ‘...’ menu on the Demo Library page → Recent Demos Thumbnails.
- Simply select the 'Edit Tags' option from the list.
How can I search for my tagged demos and folders?
To find your tagged demos and folders, you can filter by tags on the following pages:
- Demo Library
- Create DemoBoard
- Create Public Link
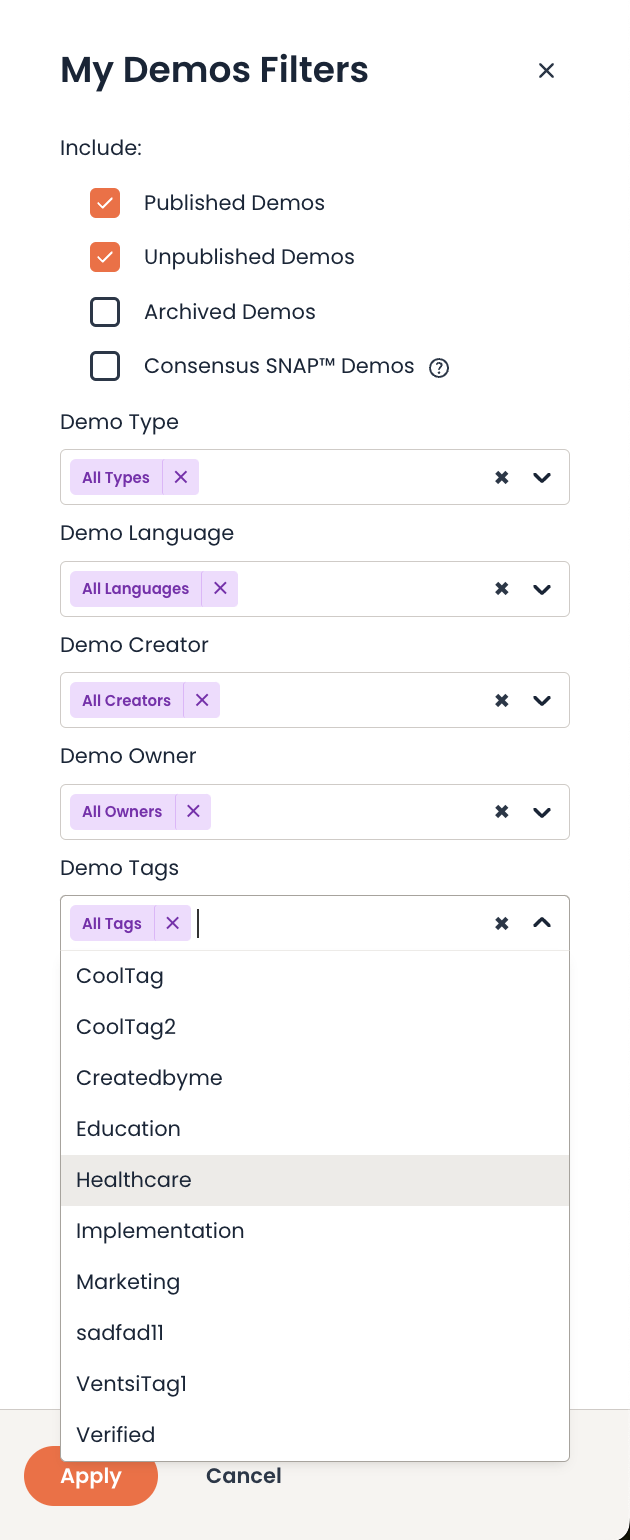
- To filter by tag, enter your search term in the 'Tags' search field and select the tag you wish to filter by from the tag results.
- To remove a filtered tag, click the 'x' icon next to the tag filter you wish to clear.
Demo Library and Full Demo reports:
To see which demos have been tagged and what tags have been assigned to them, check the Demo Library and Full Demo reports. A new column shows you exactly what tags have been associated with your demos.